Project ISAC
An evolving environmental warning and predictive analytics ecosystem, inspired by the SHD tech from Tom Clancy’s The Division.
ISAC Environmental Warn Sensor
Hey everyone! I’ve been building a real-world version of the ISAC Environmental Warn Sensor. This solo project brings the in-game concept to life using real sensors and long-range wireless communication. It sends environmental hazard data—like toxic gas levels, extreme temperatures, or poor air quality—over several kilometers, all without needing Wi-Fi or cellular service. Perfect for remote or emergency scenarios where infrastructure is down.
Hardware Overview
- Core MCU: Adafruit Feather HUZZAH32 (ESP32)
- Stacked FeatherWings: Ultimate GPS (RTC) & microSD (data logging)
- Sensors (TCA9548A multiplexer): SCD41 (CO₂, Temp, Humidity), PMSA003I (PM1.0, 2.5, 10), AS7341 (UV/Light), LSM6DSOX (Accel/Gyro)
- Power: 3.7V 2200mAh LiPo battery
- Output: NeoPixel RGBW LED ring & STEMMA speaker module
Features & Goals
- Sensor Readout: Real-time monitoring of air quality and hazards.
- BLE & LoRa: Bluetooth to mobile app, plus LoRa mesh support for offline relaying.
- GPS Sync: Live positioning built-in.
- Data Logging: Local SD card storage.
- Feedback: Audio/Visual alerts for poor air thresholds.
Sensors & Detection Capabilities
| Sensor / Module | Detection Array |
|---|---|
| BME680 | Temperature, Humidity, Air Pressure, VOCs (air quality) |
| MQ-135 | CO₂, Ammonia (NH₃), Benzene, Smoke, VOCs |
| MQ-2 | LPG, Smoke, Methane, Hydrogen |
| MQ-7 | Carbon Monoxide (CO) |
| CCS811 / SGP30 | eCO₂, Total VOCs (TVOCs) |
| DS18B20 | Precise Temperature |
| BH1750 | Light Intensity (lux) |
| Microphone | Ambient Noise Level |
| PIR Motion Sensor | Motion / Presence |
| NEO-6M GPS | Location (Geo-data) |
| LoRa (SX1278) | Wireless Data Transmission |
Development Timeline
Explore the physical evolution of Project ISAC. Swipe or use arrows to view galleries. Click to expand.
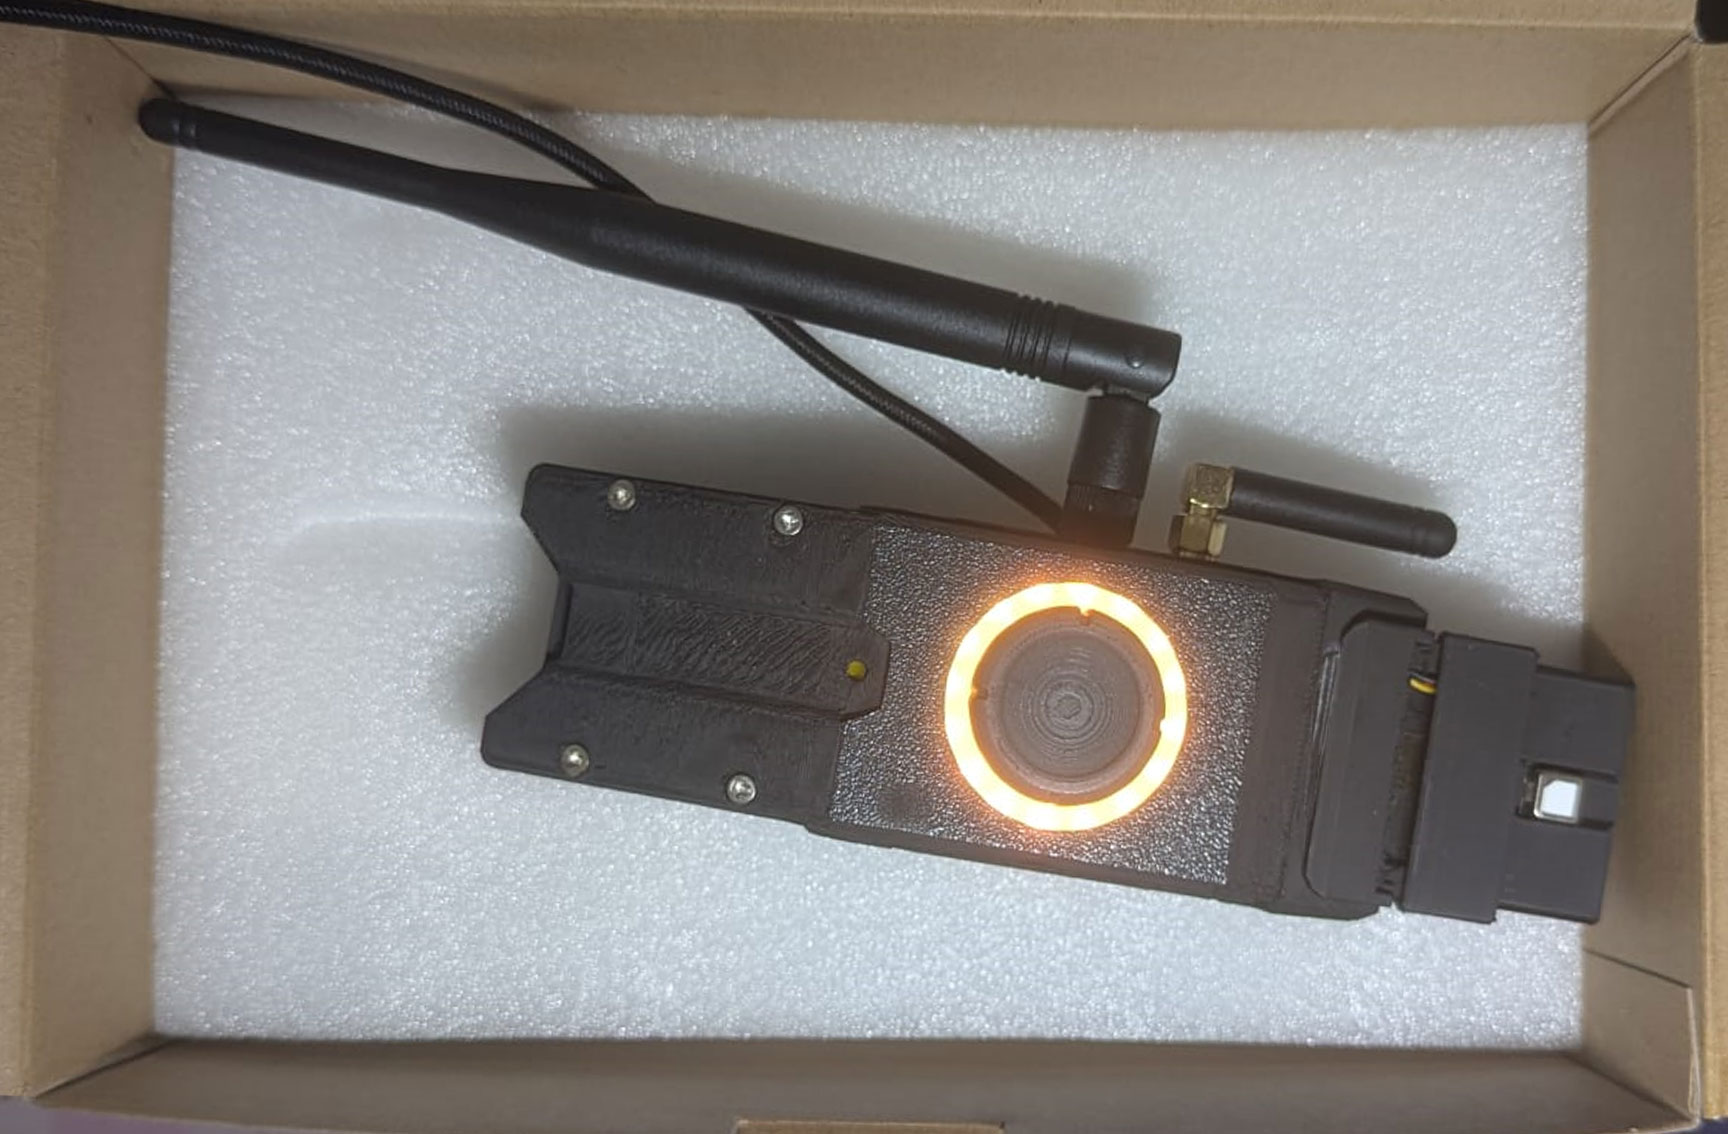
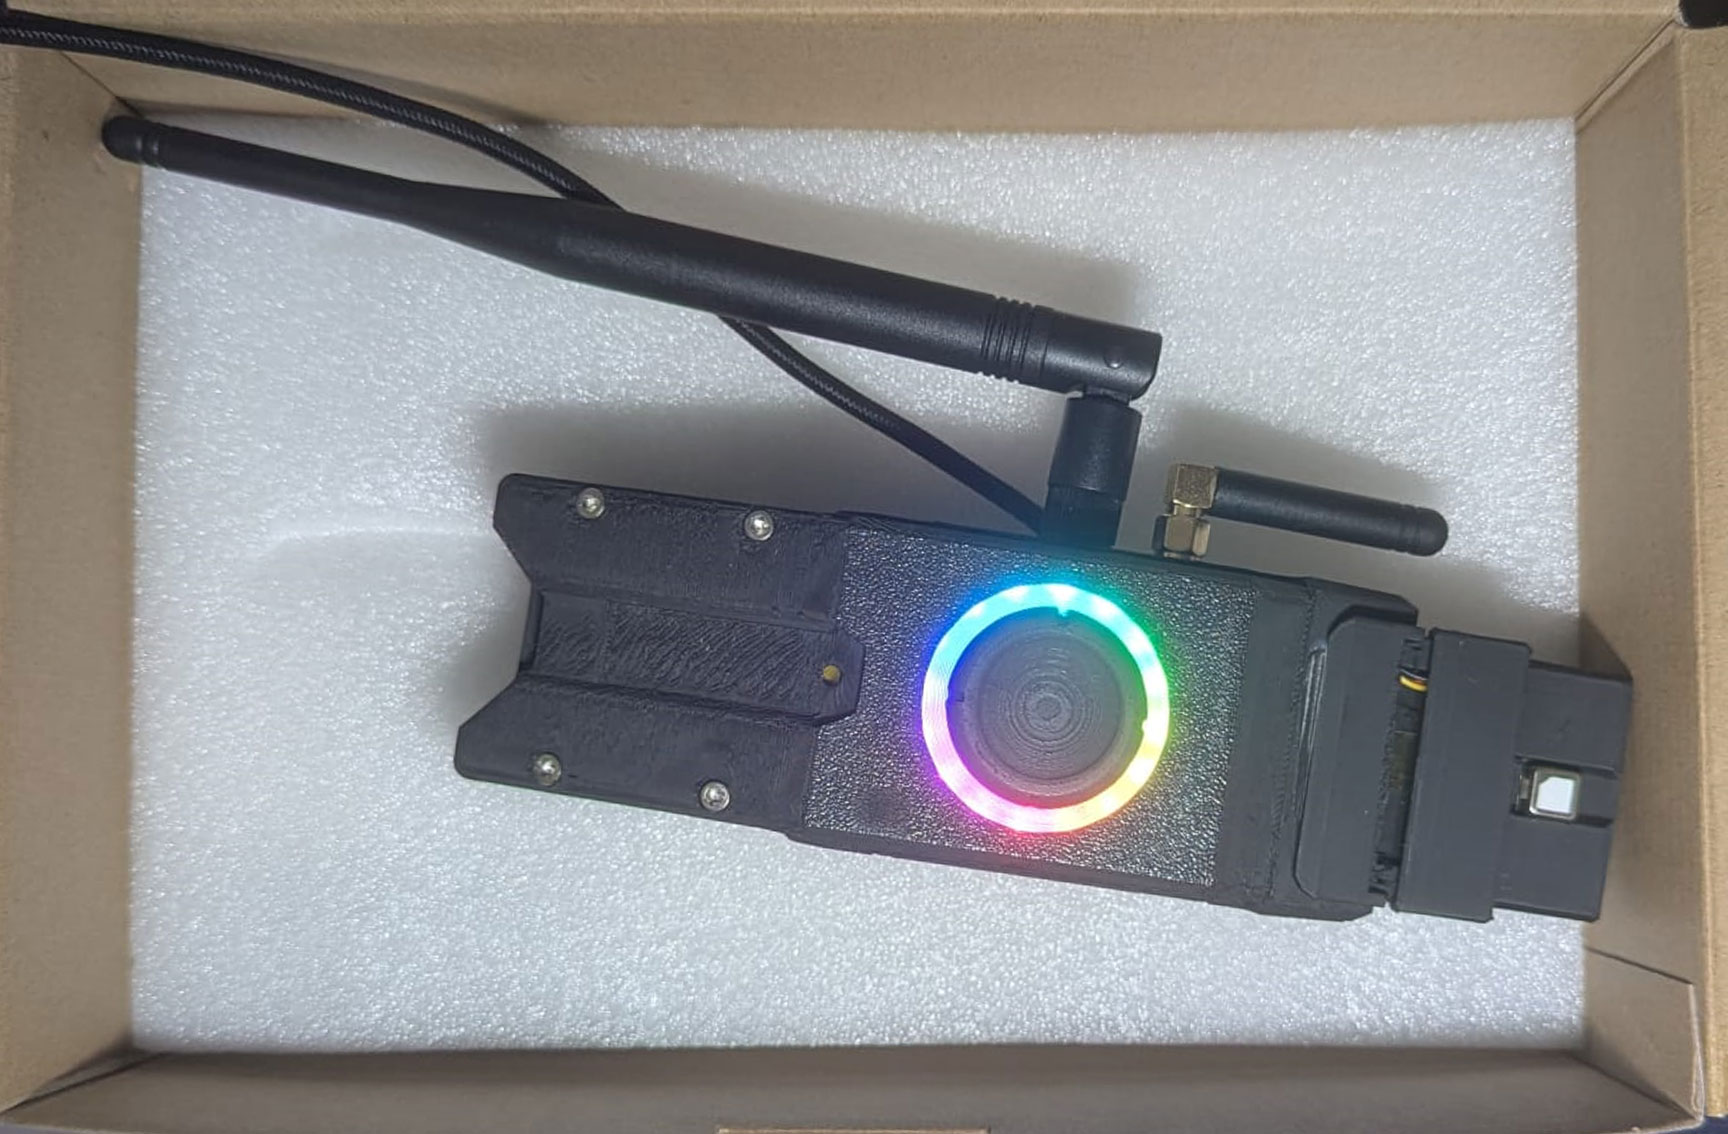
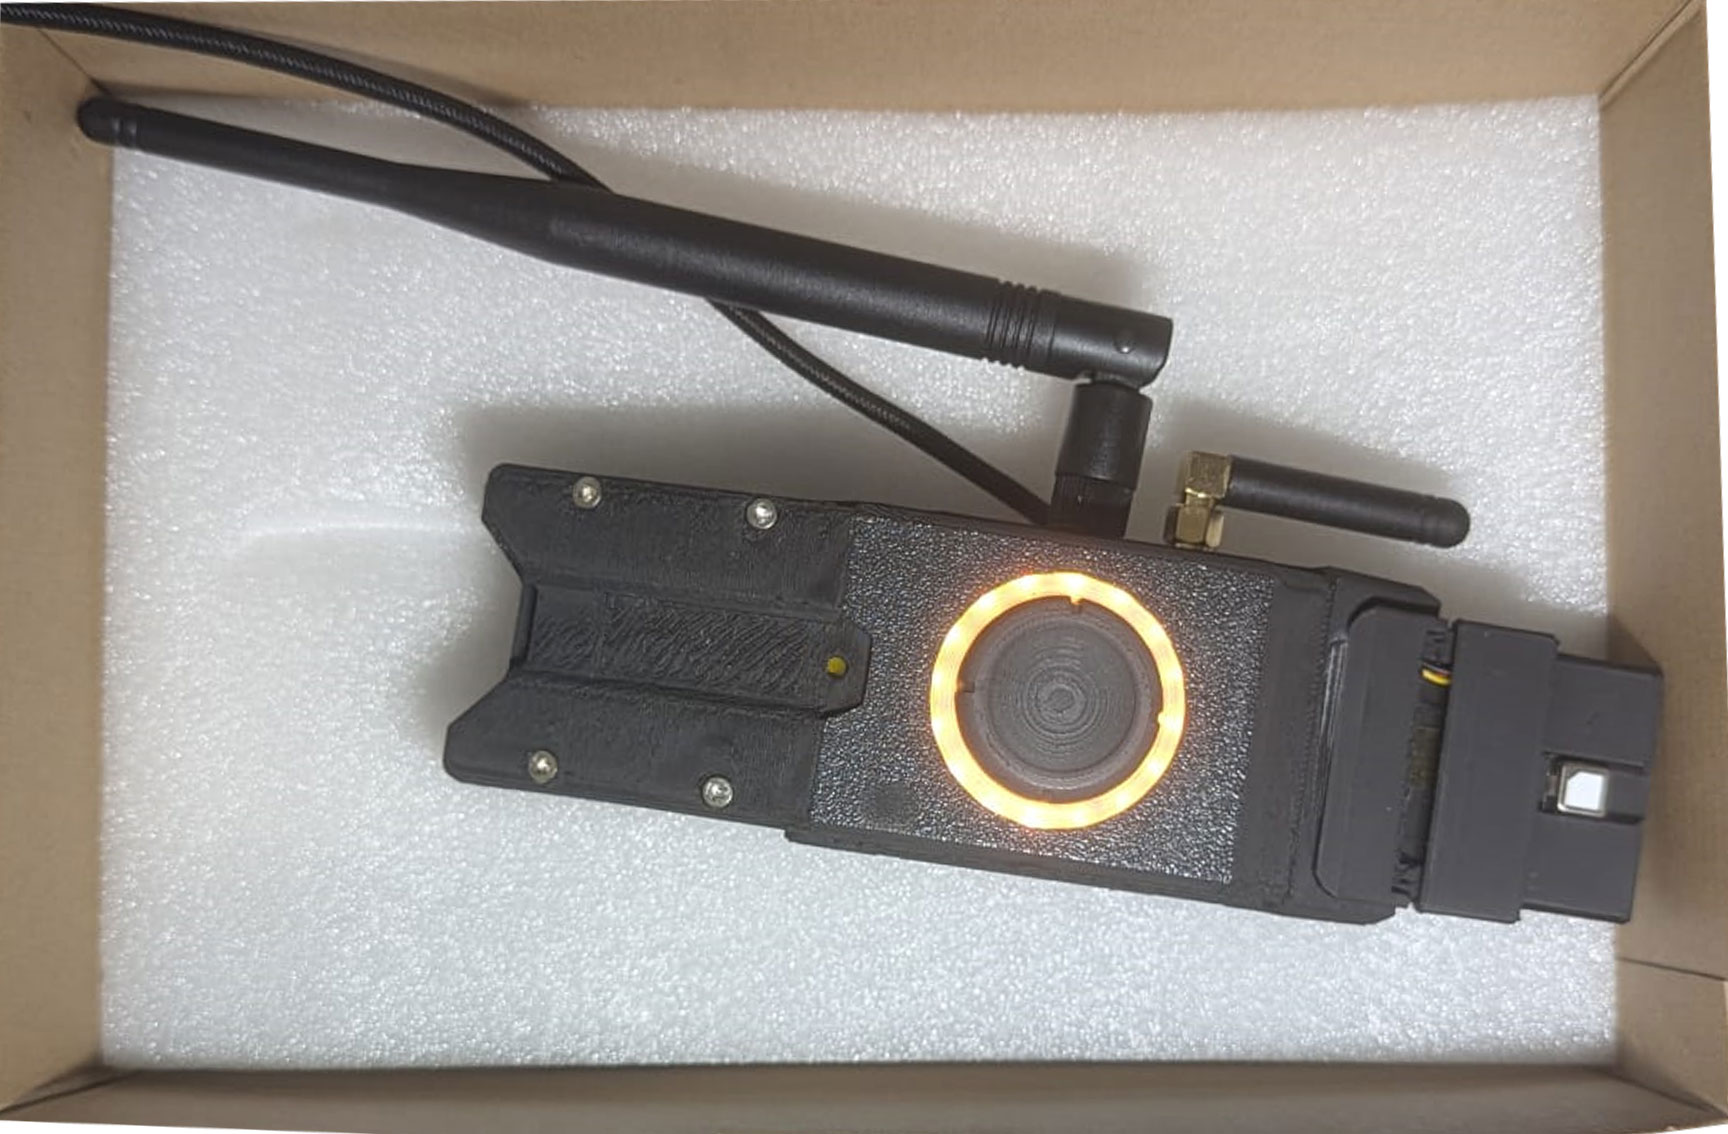
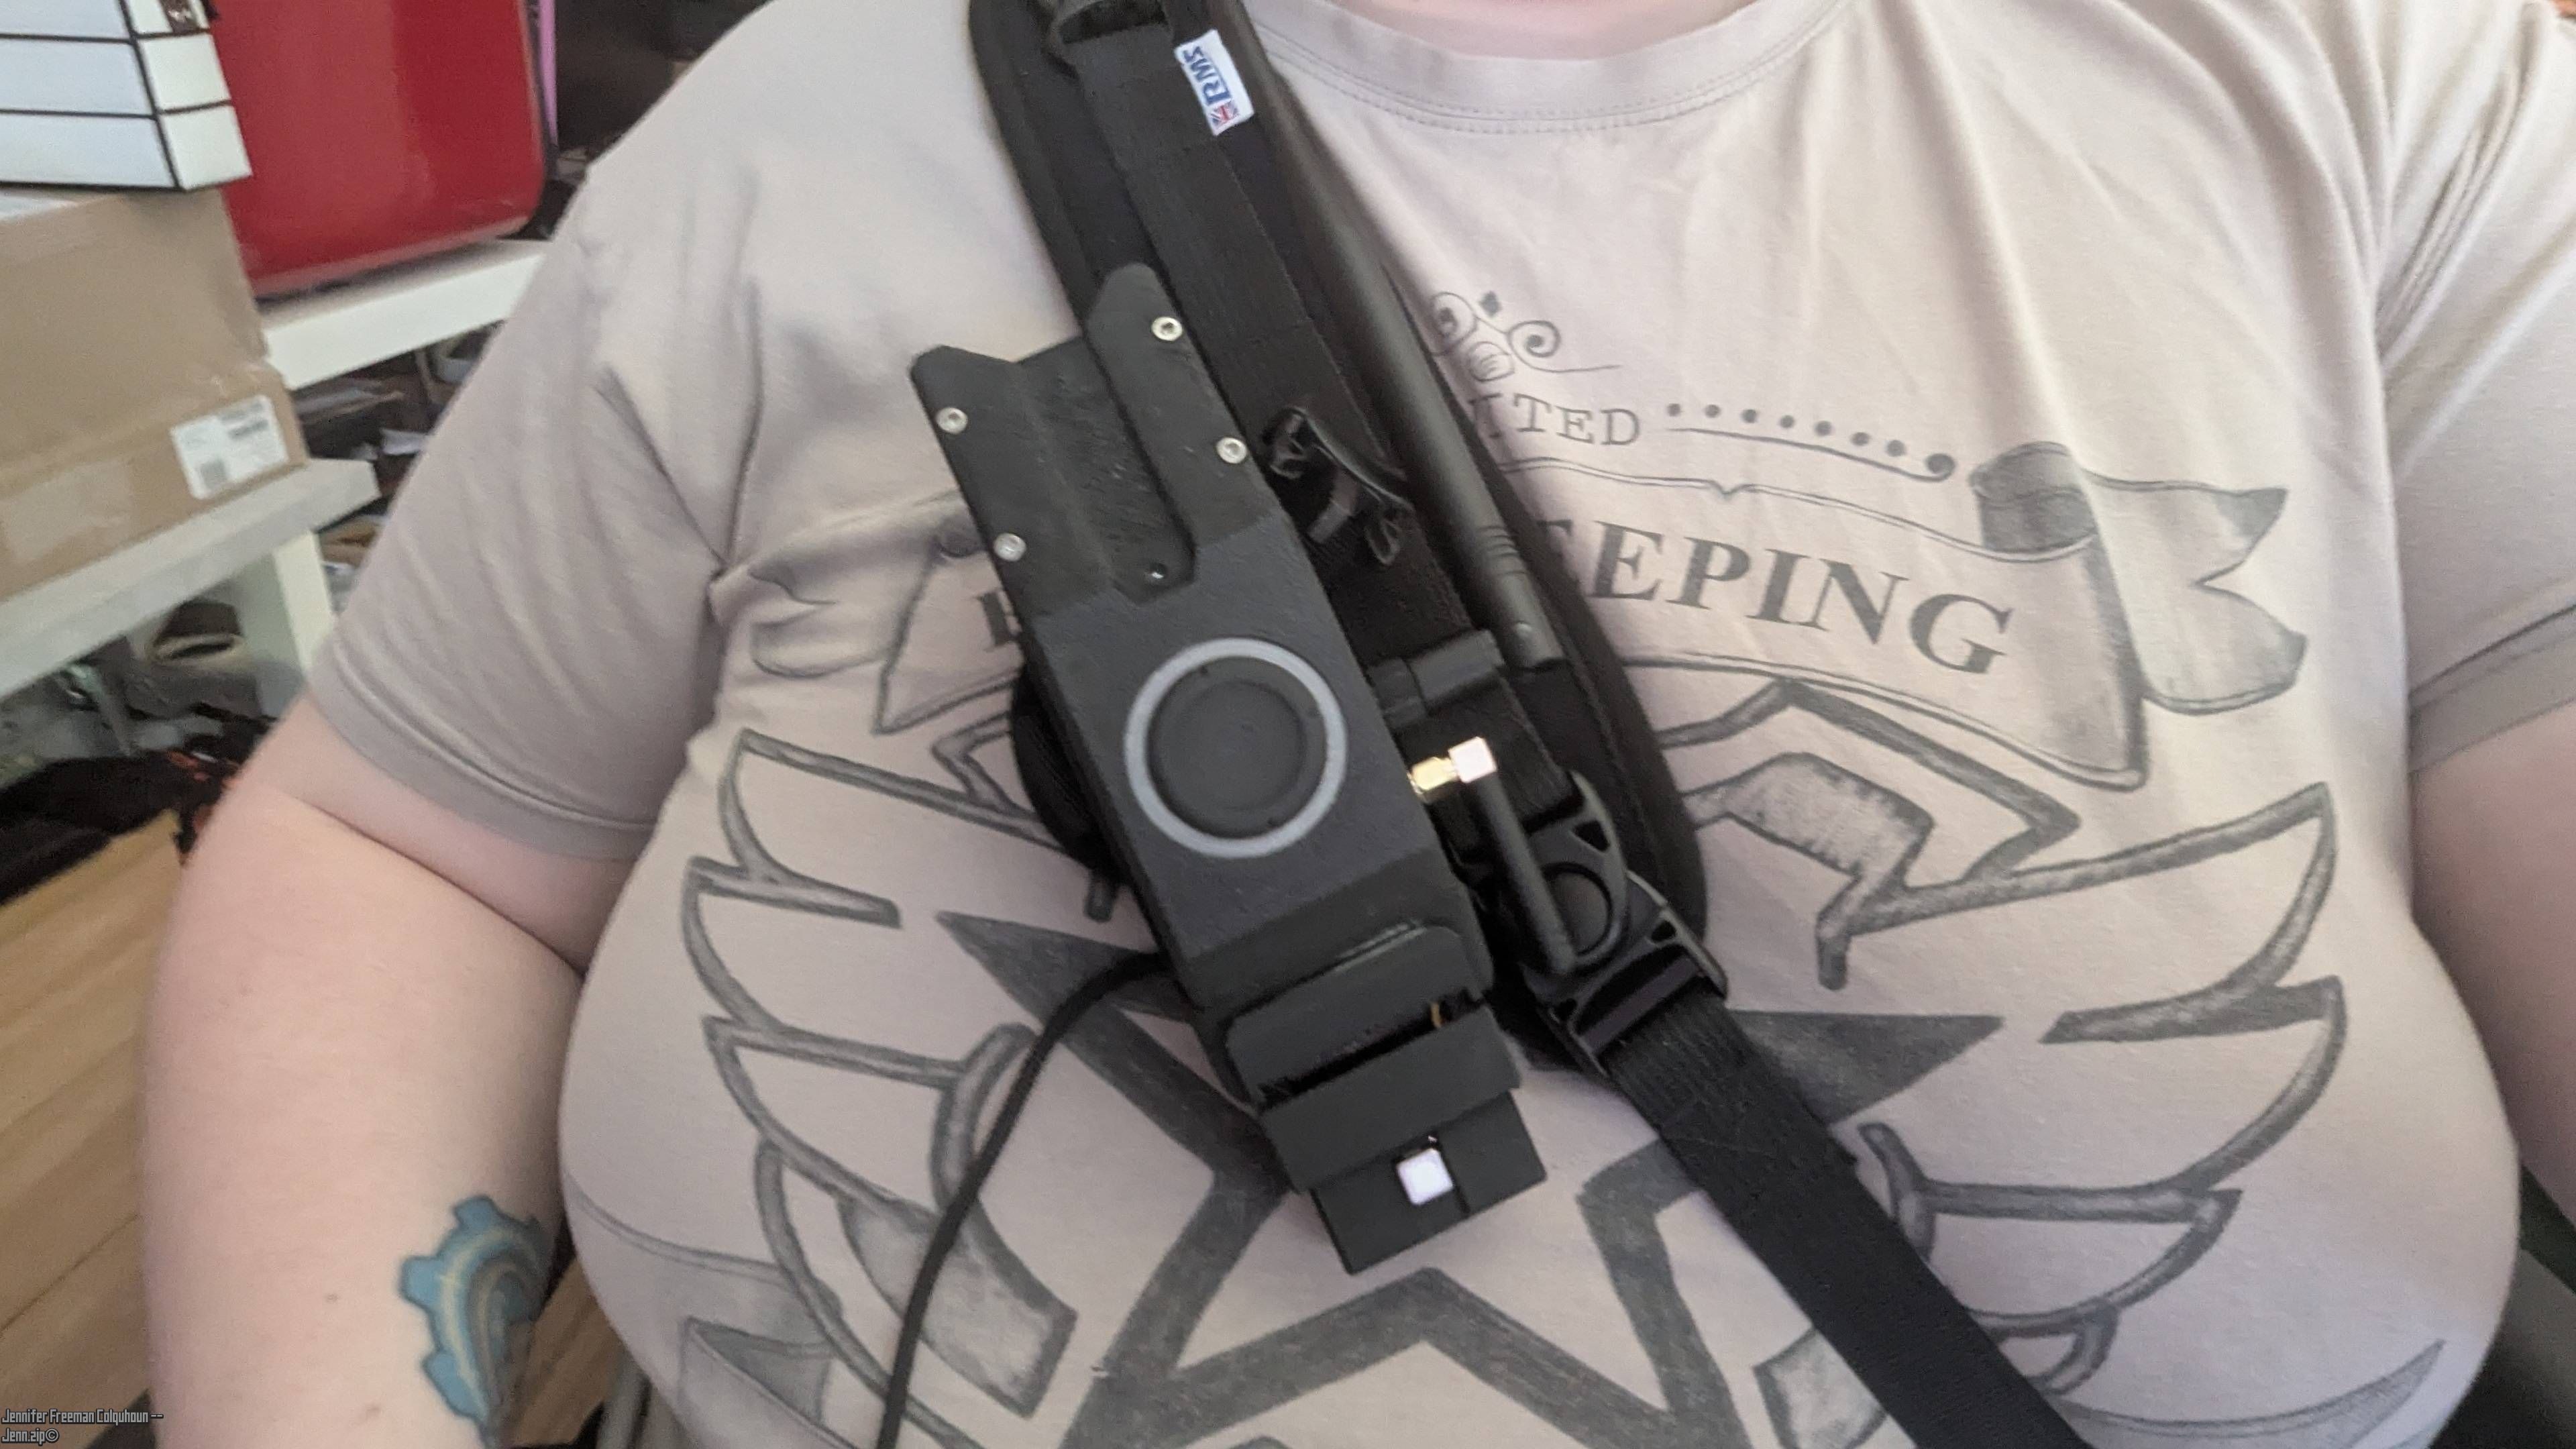
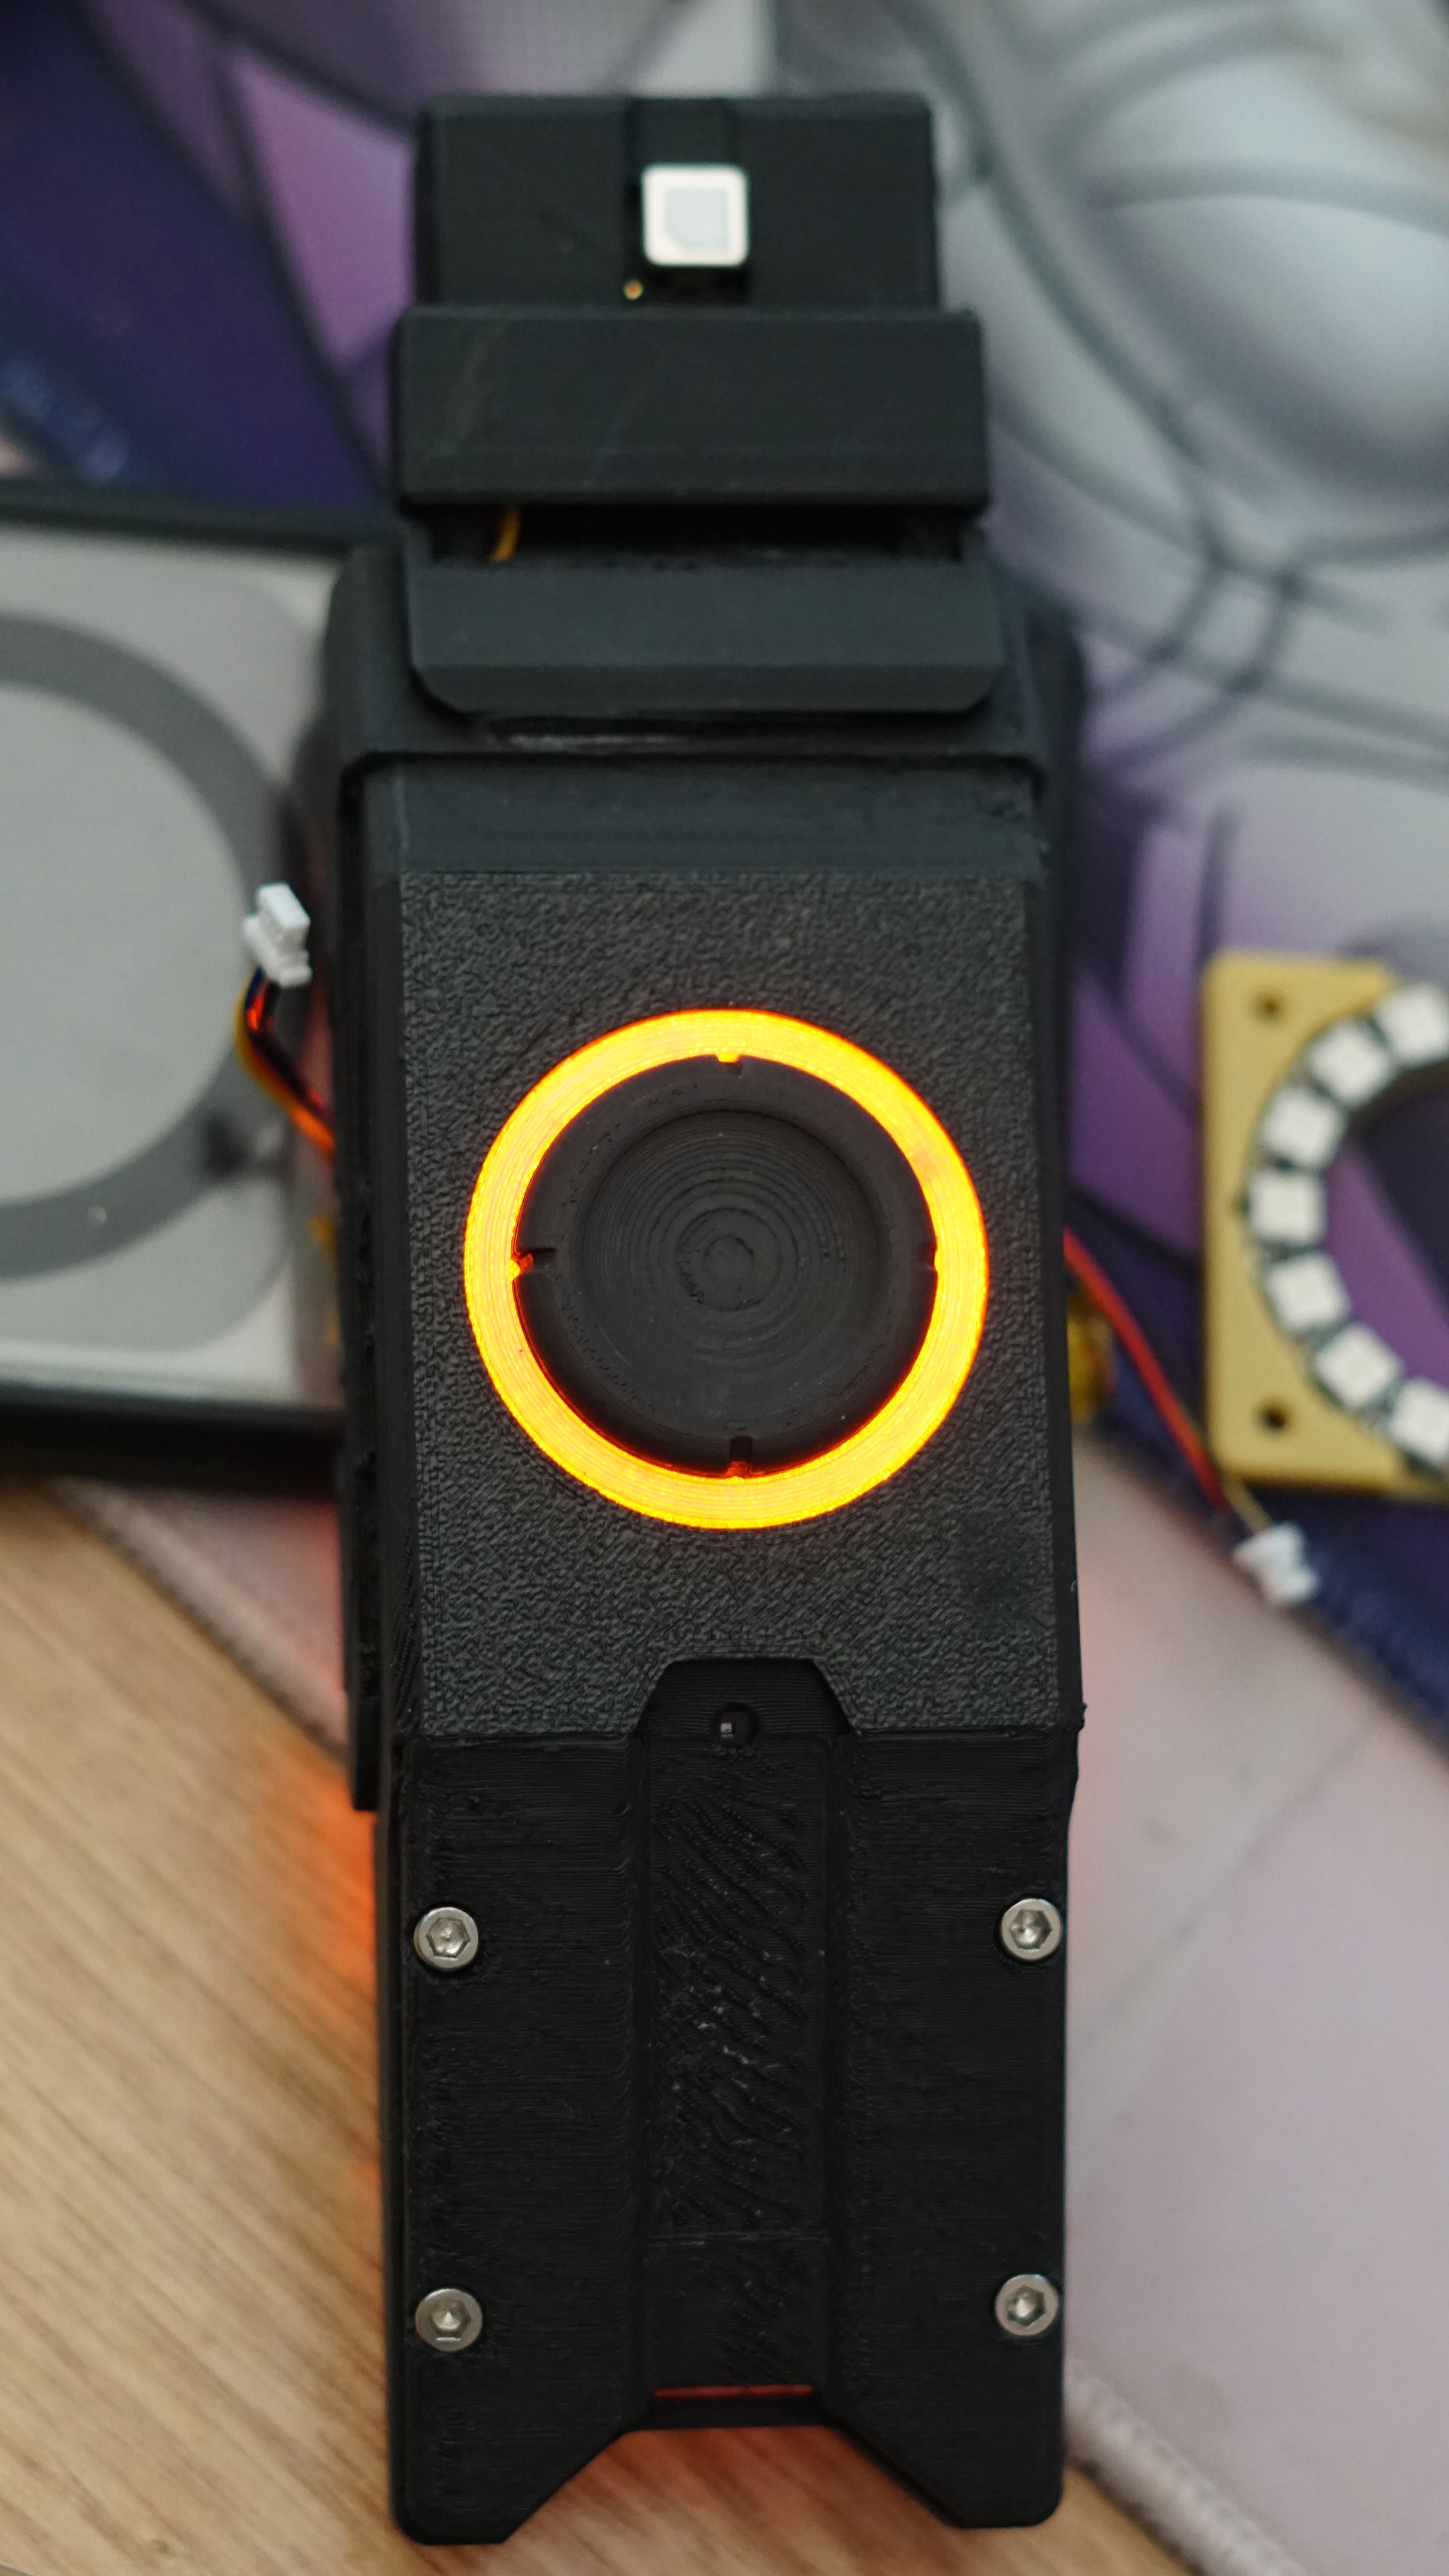
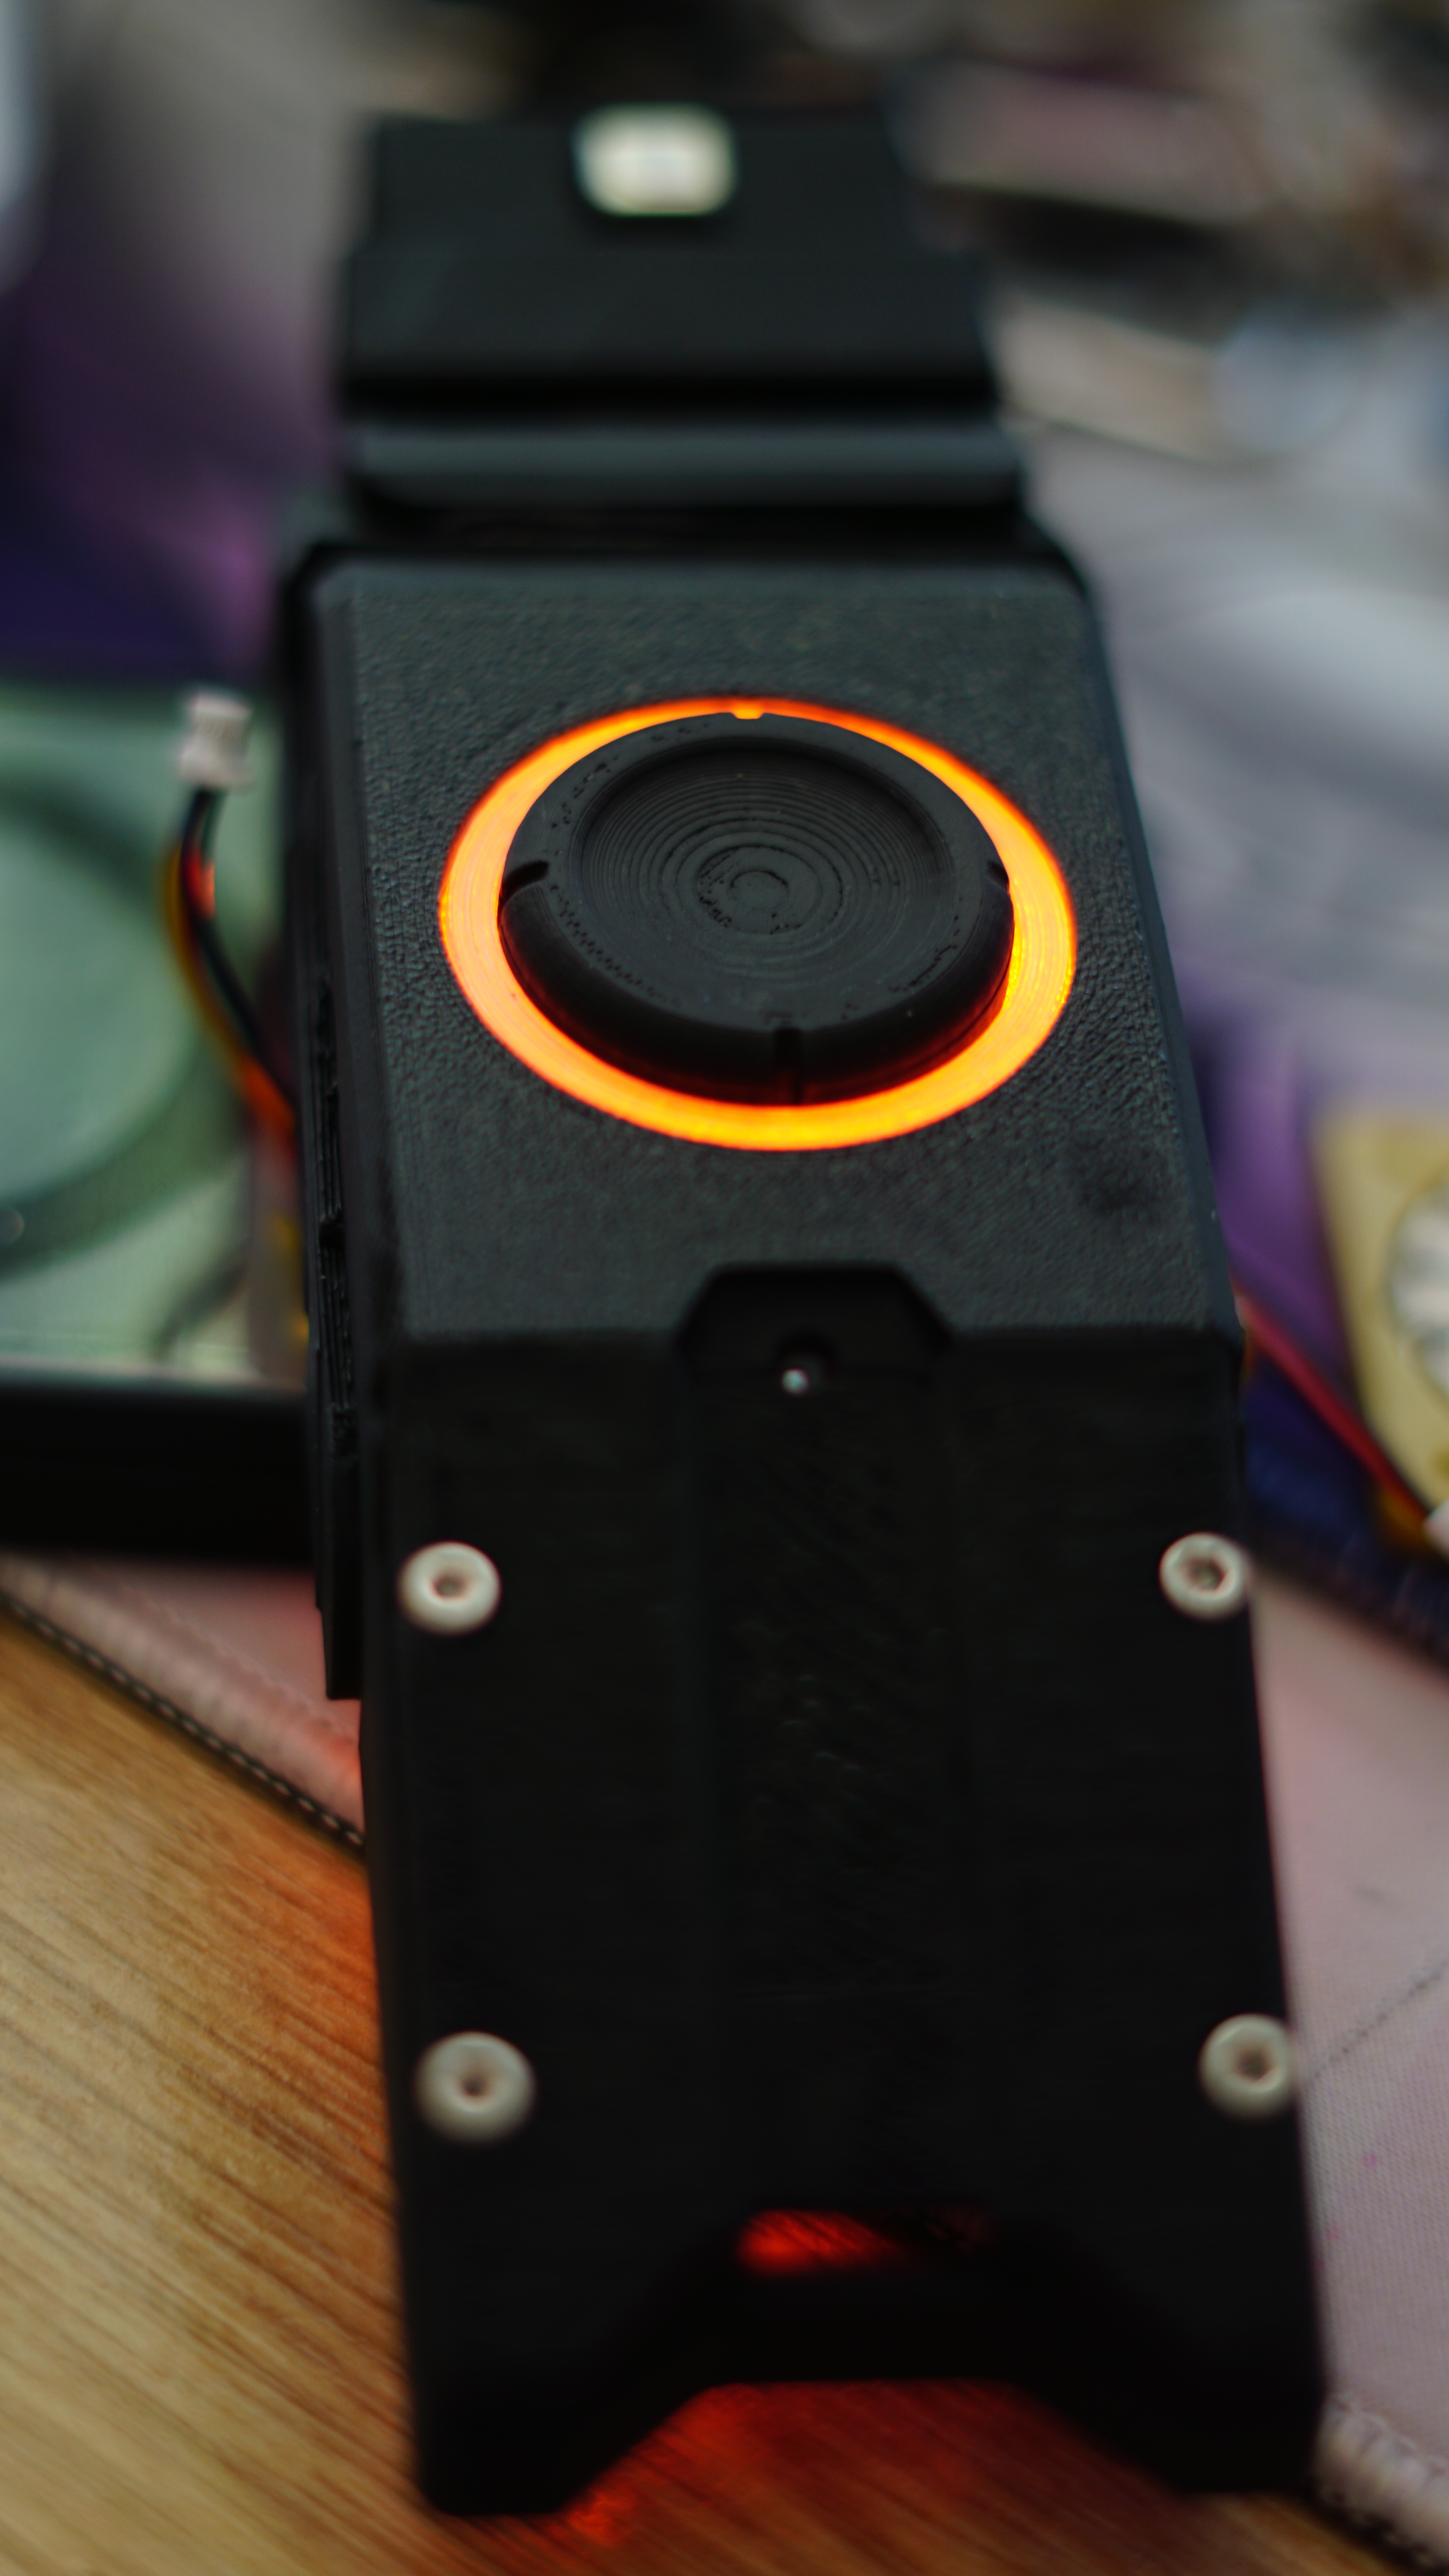
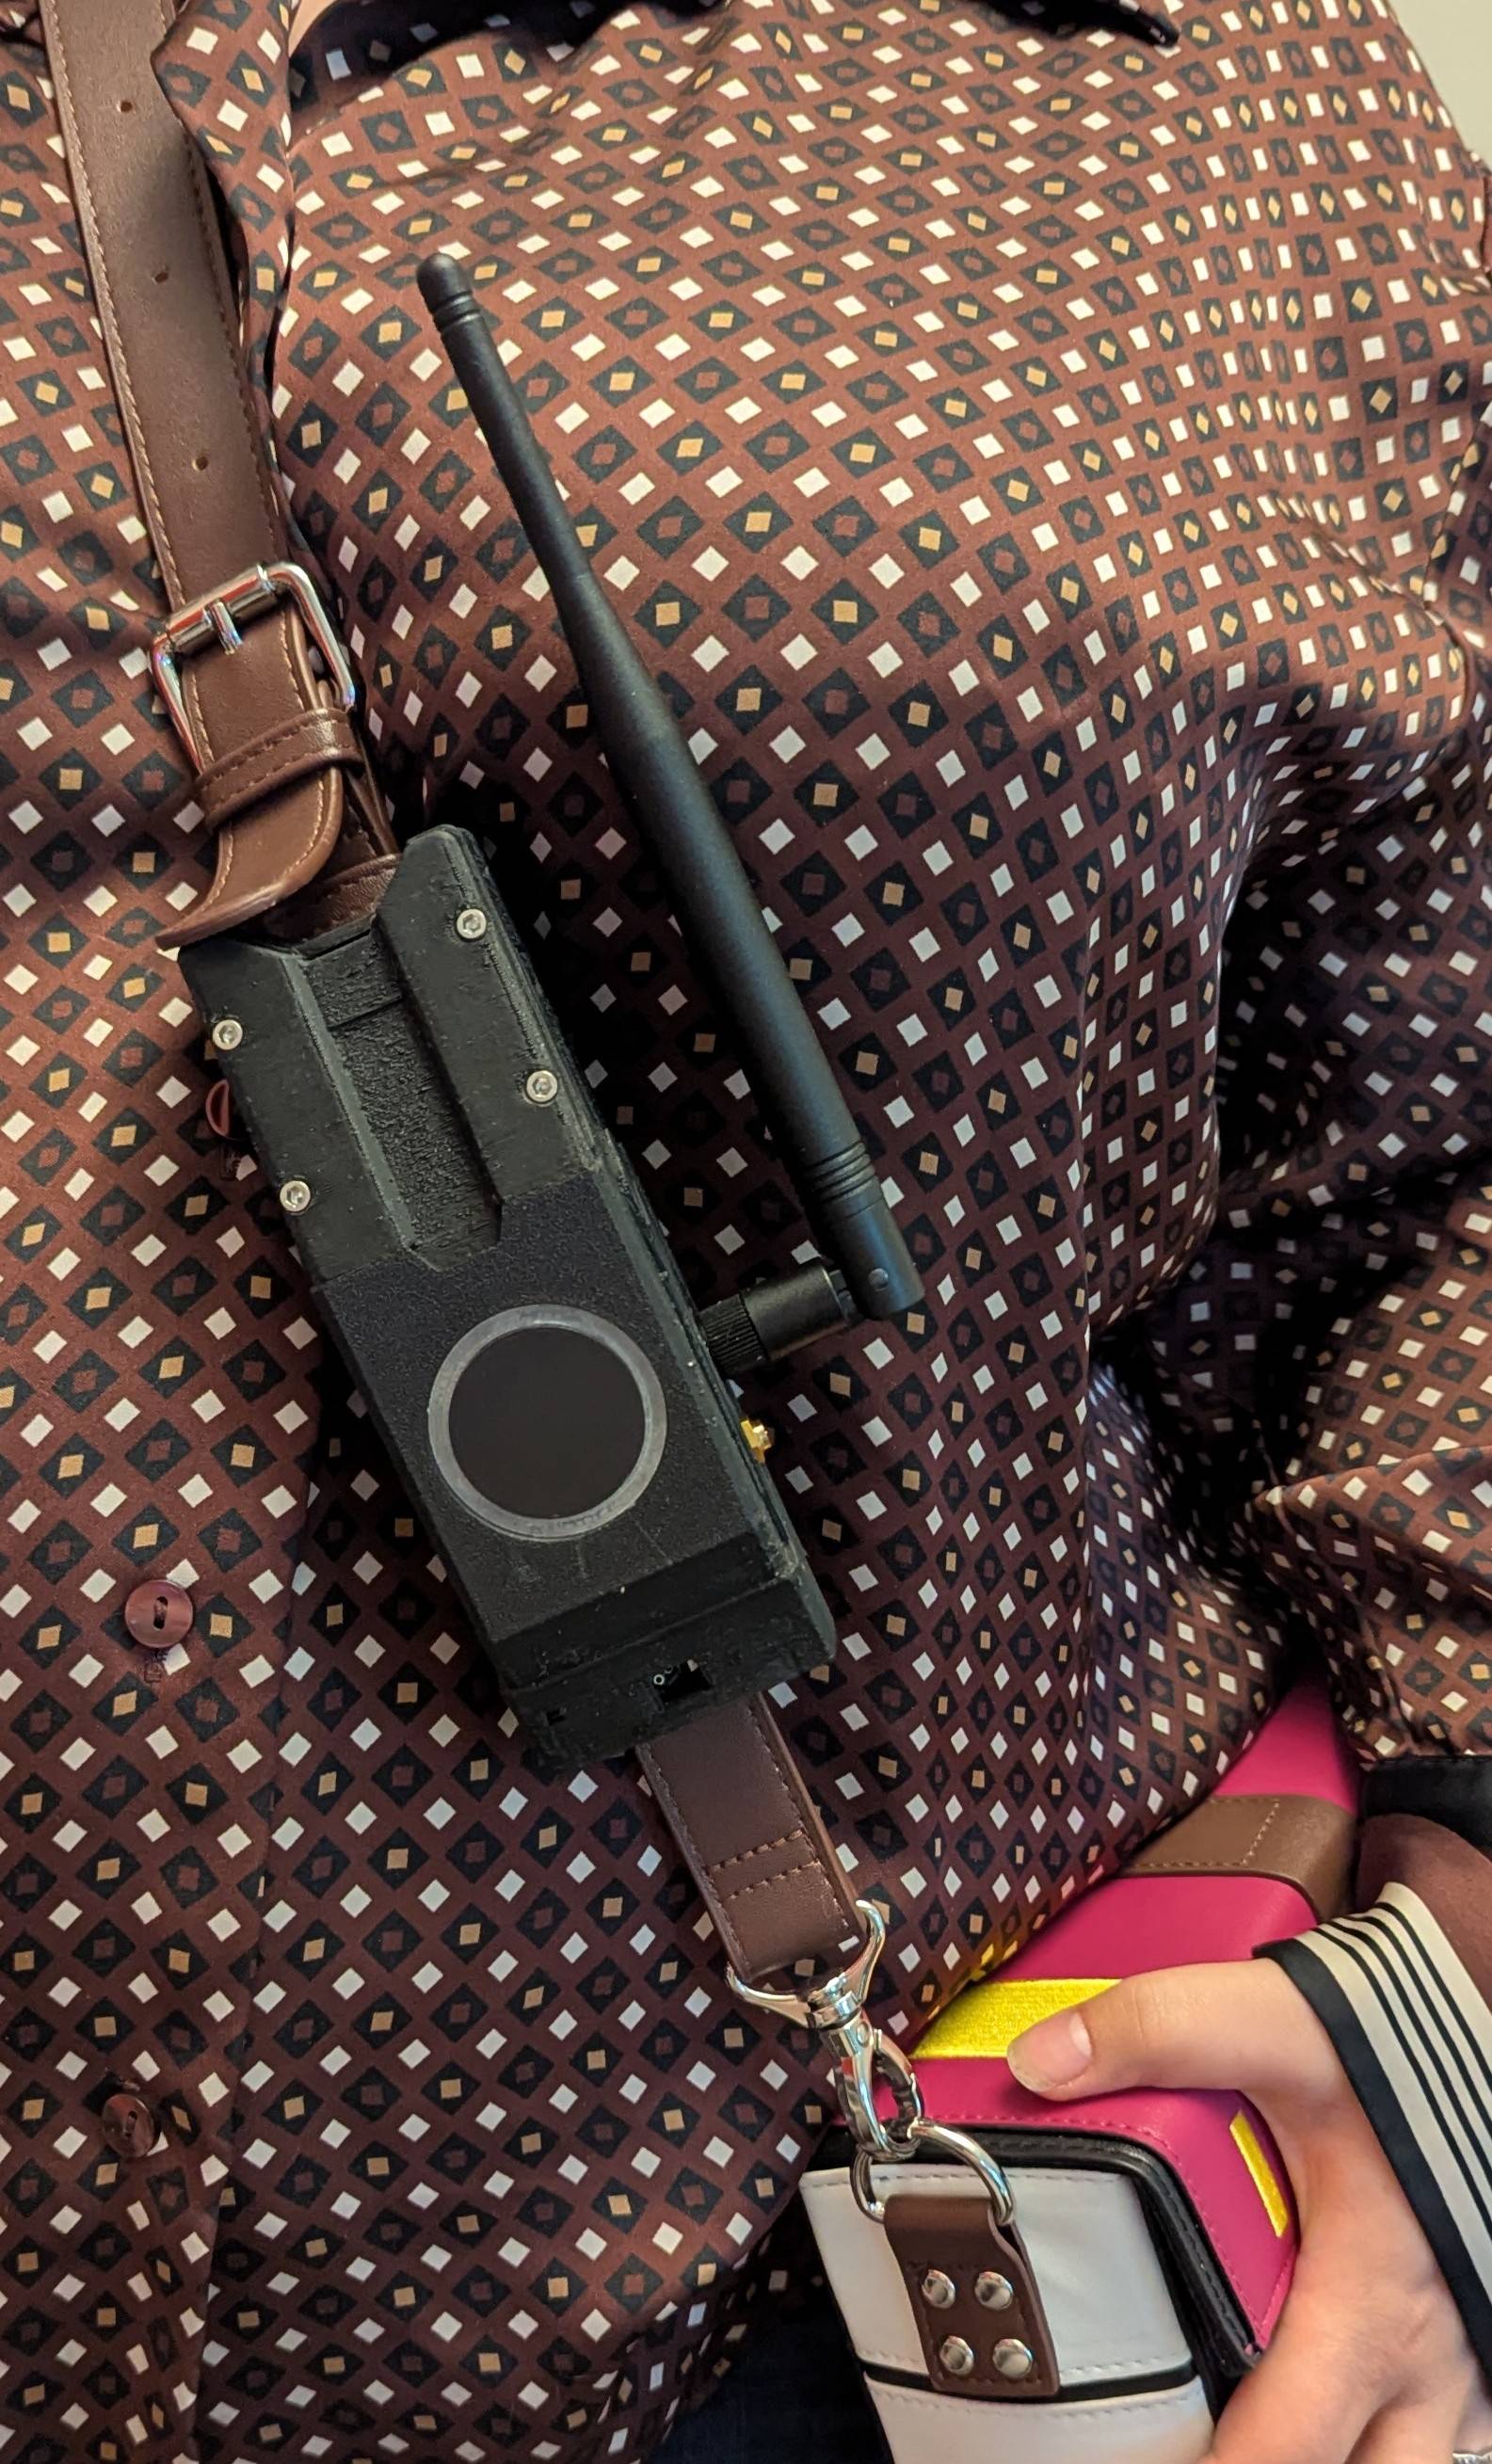
Finalised Device
A comprehensive view of the fully assembled ISAC Environmental Sensor Beacon. Showcasing NeoPixel RGBW ring testing and final chassis fitting.
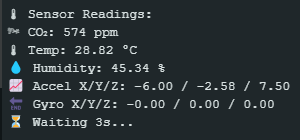
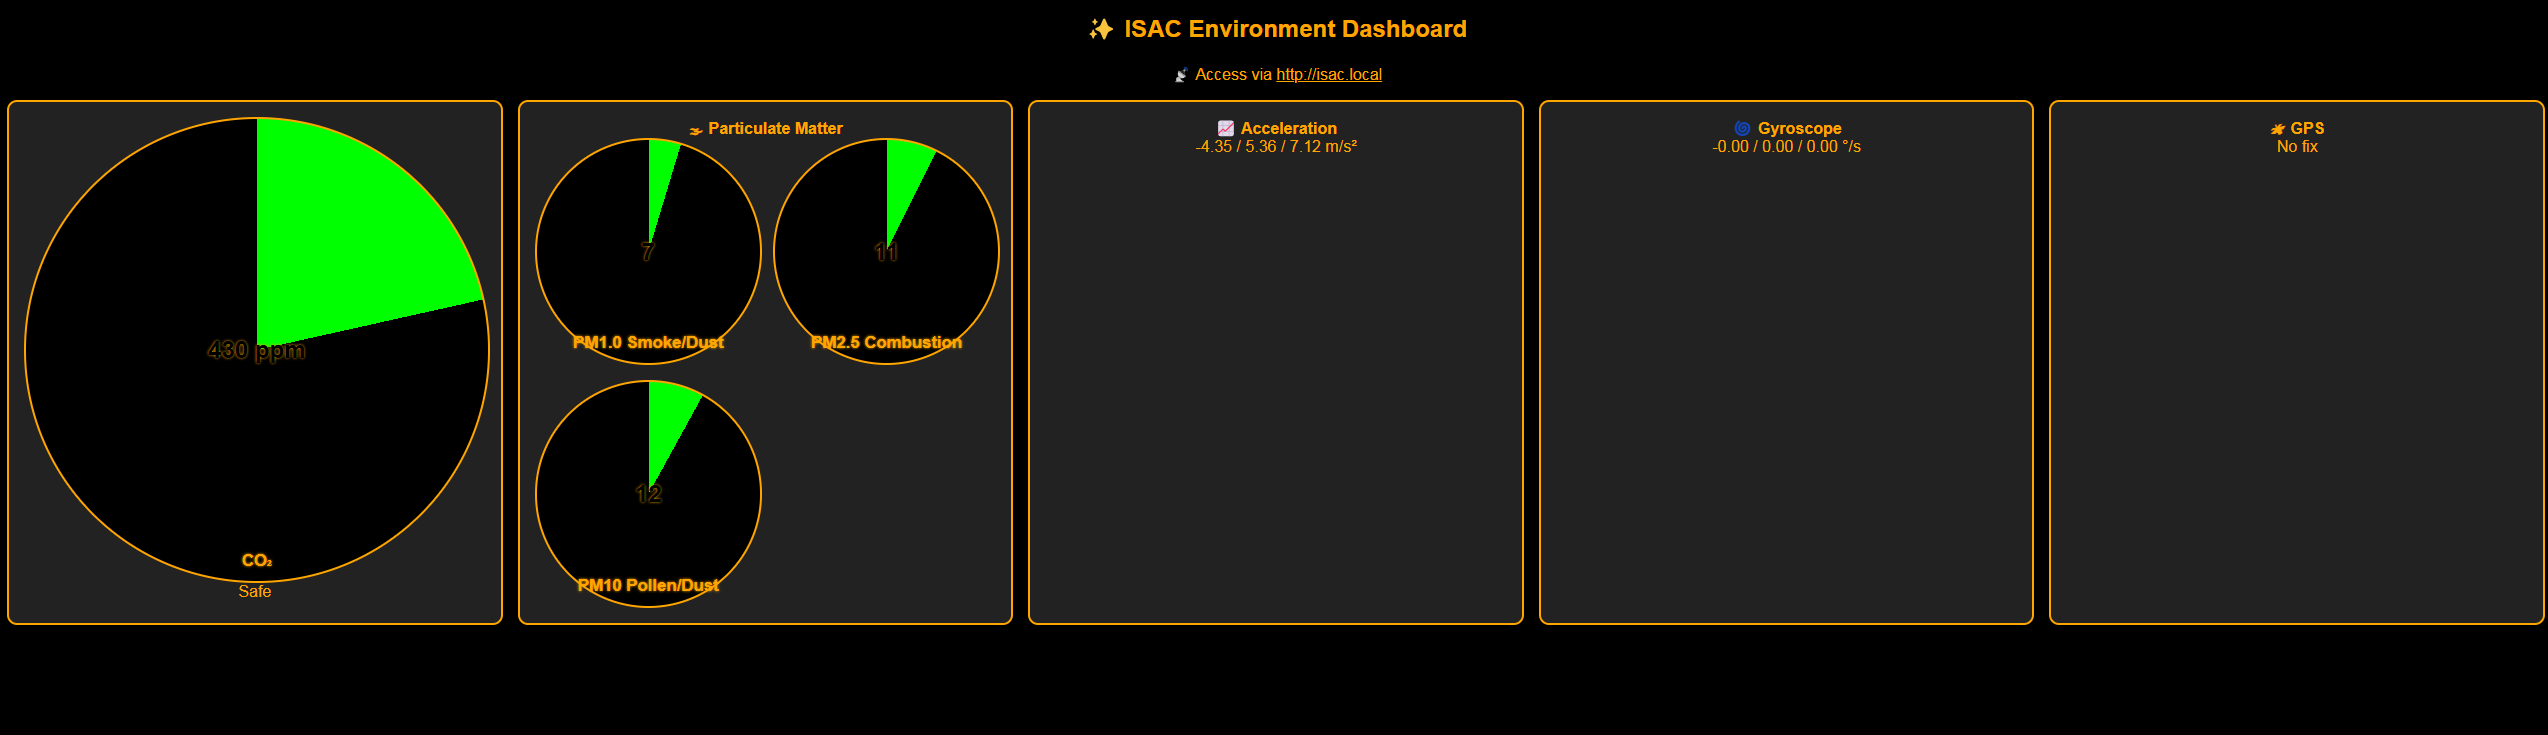
Sensor Output & Interface
The first successful terminal reads from the sensor array, followed by the evolution of the ISAC digital dashboard interface.
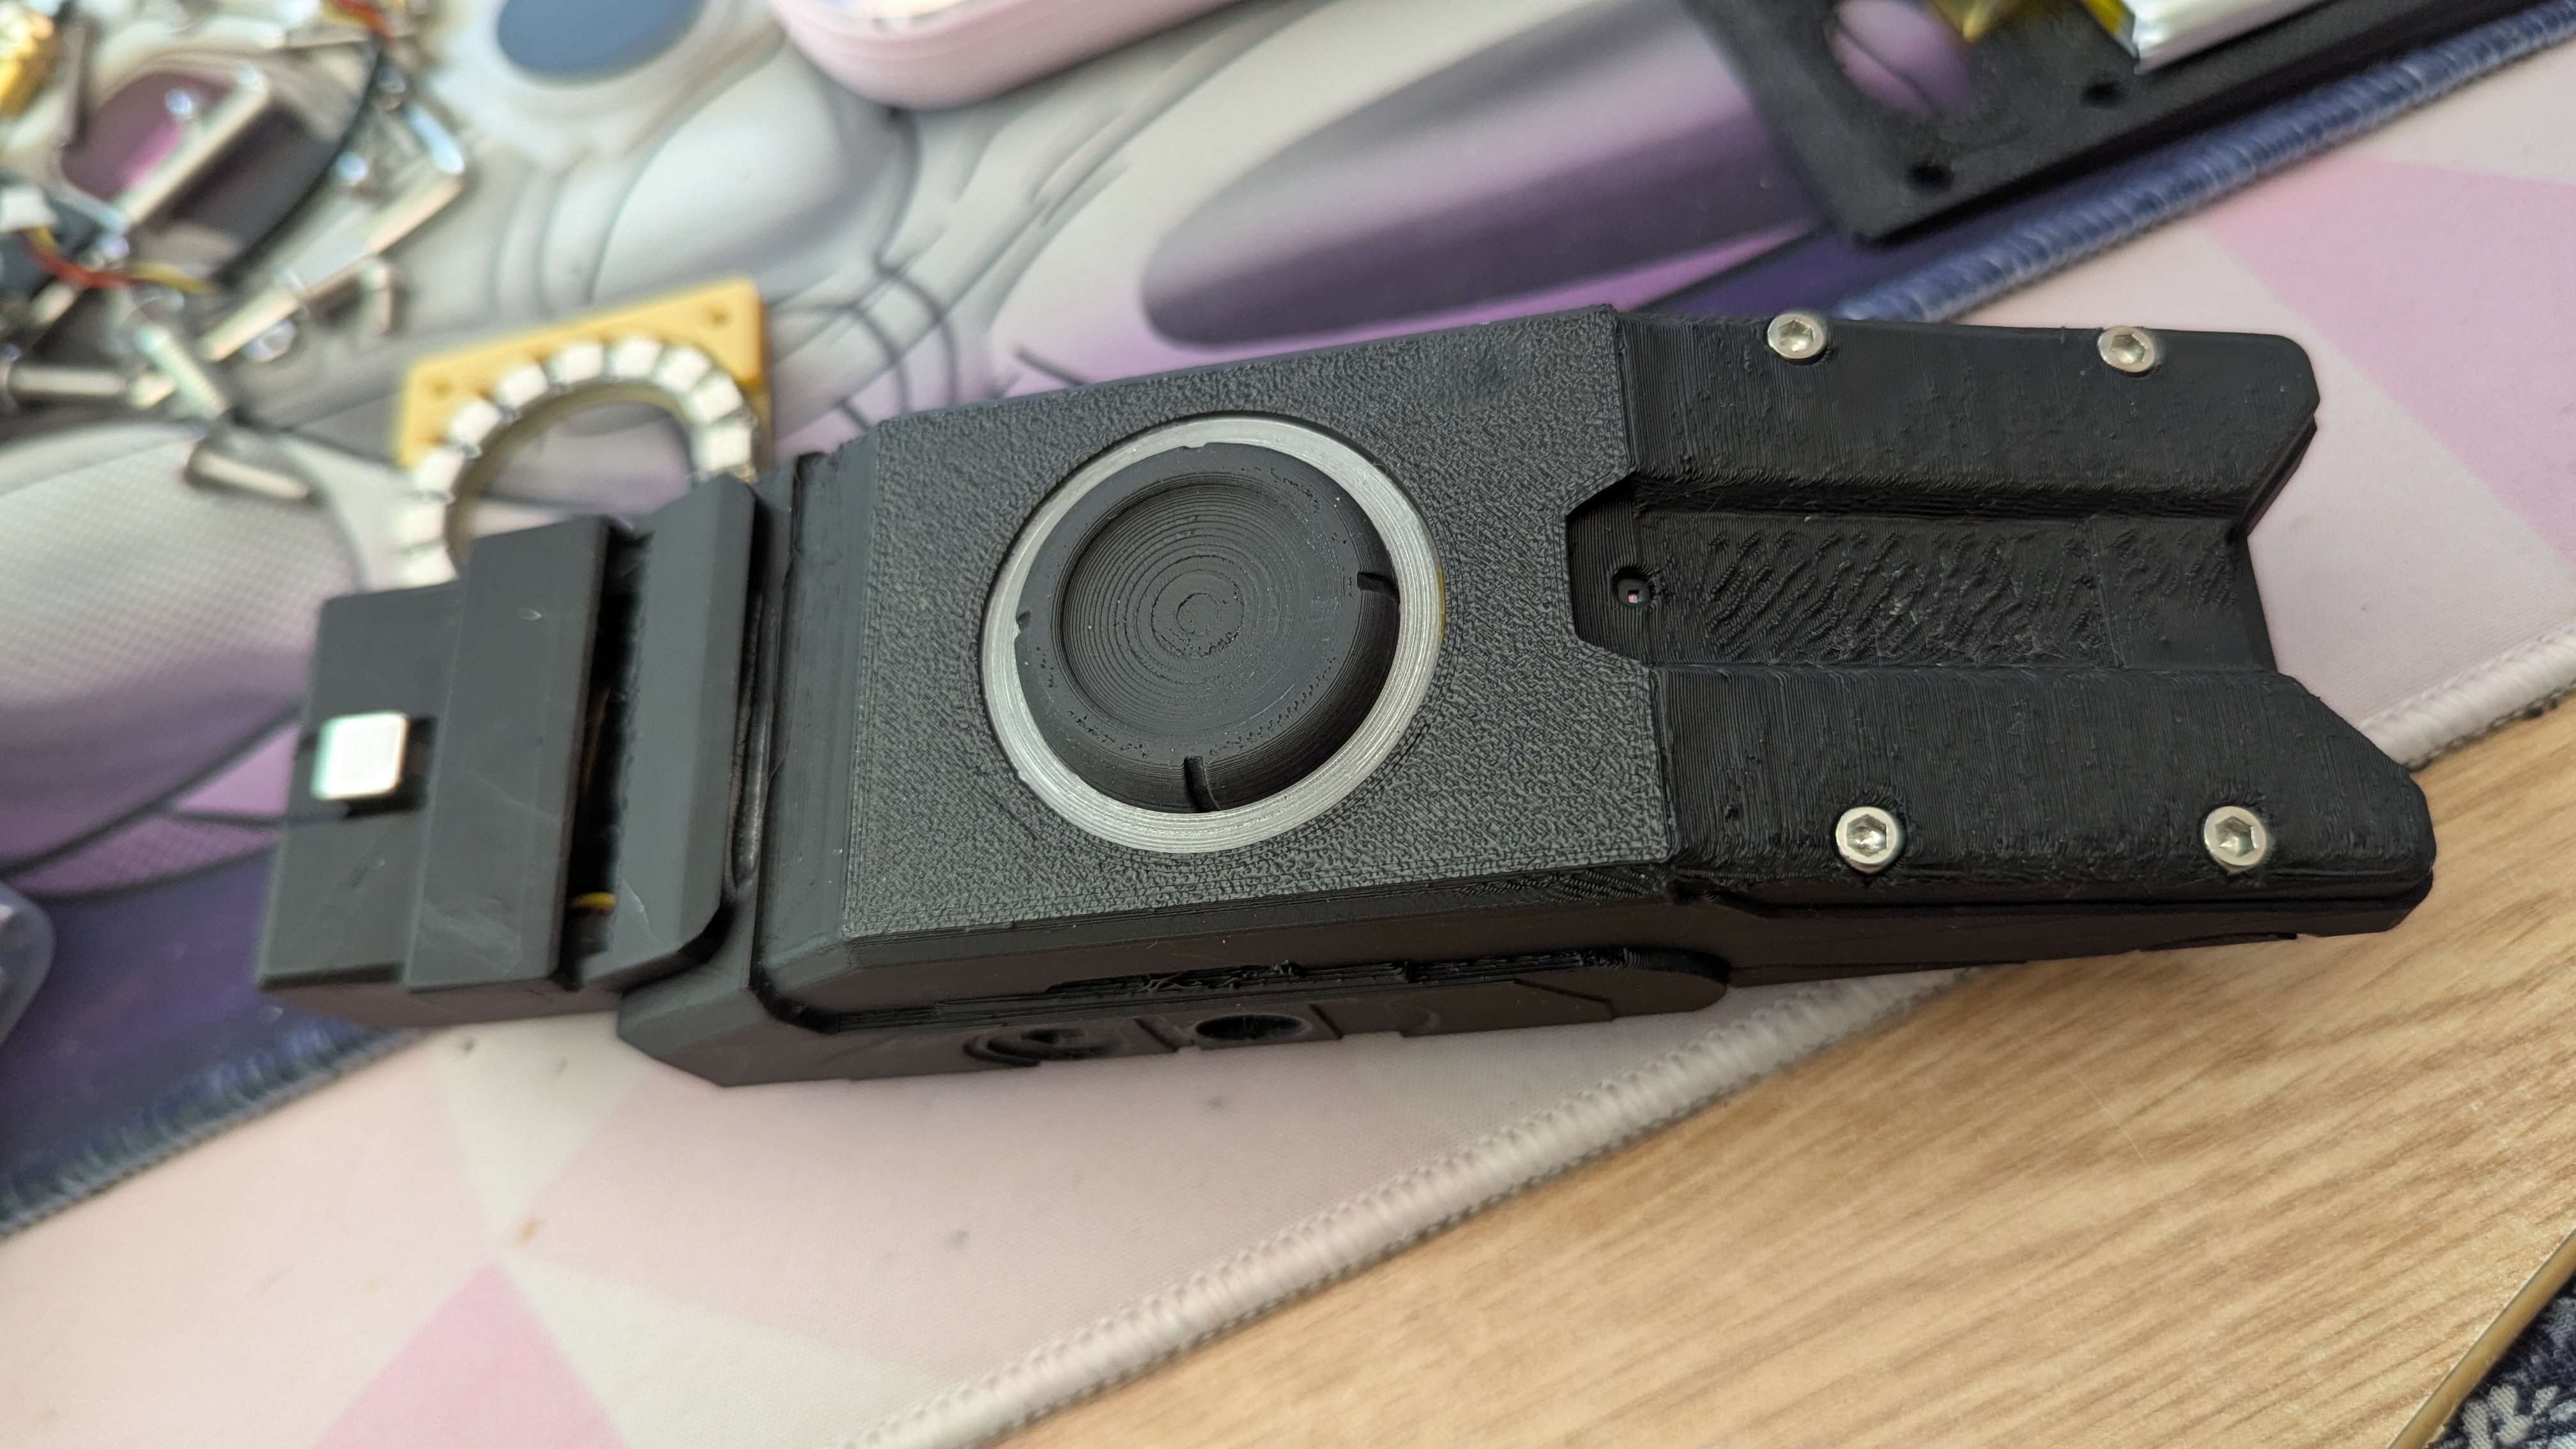
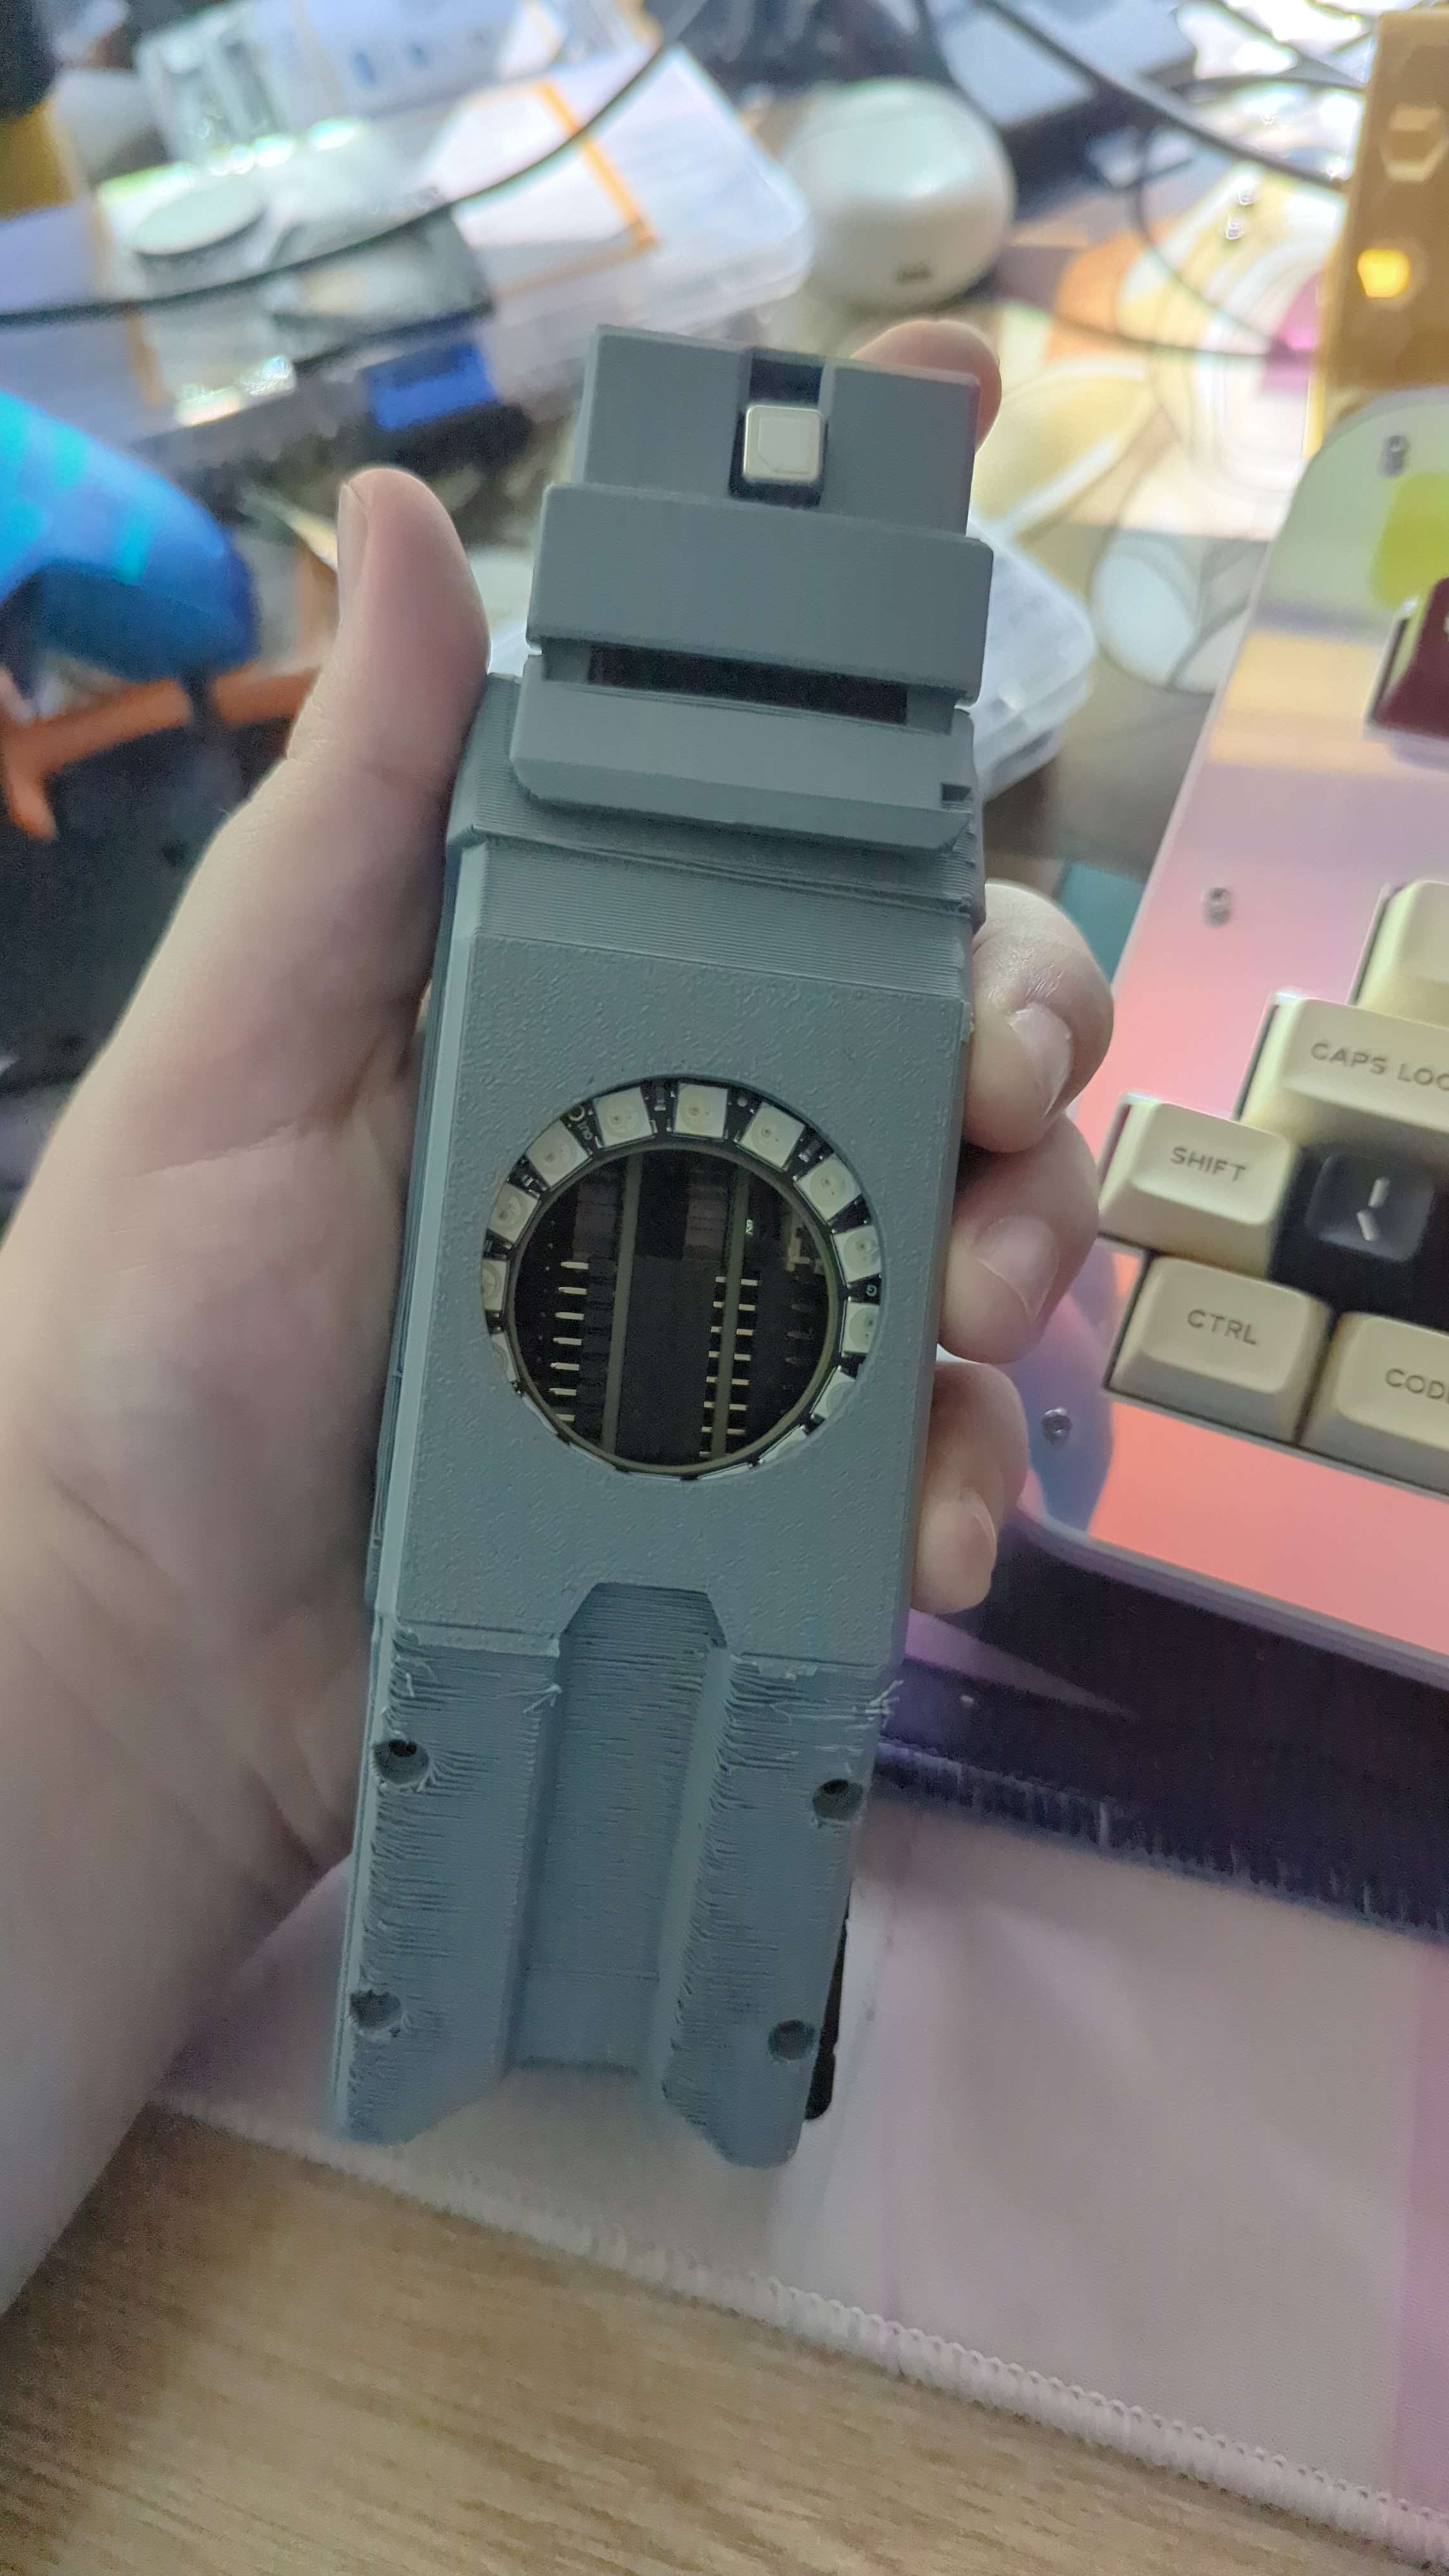
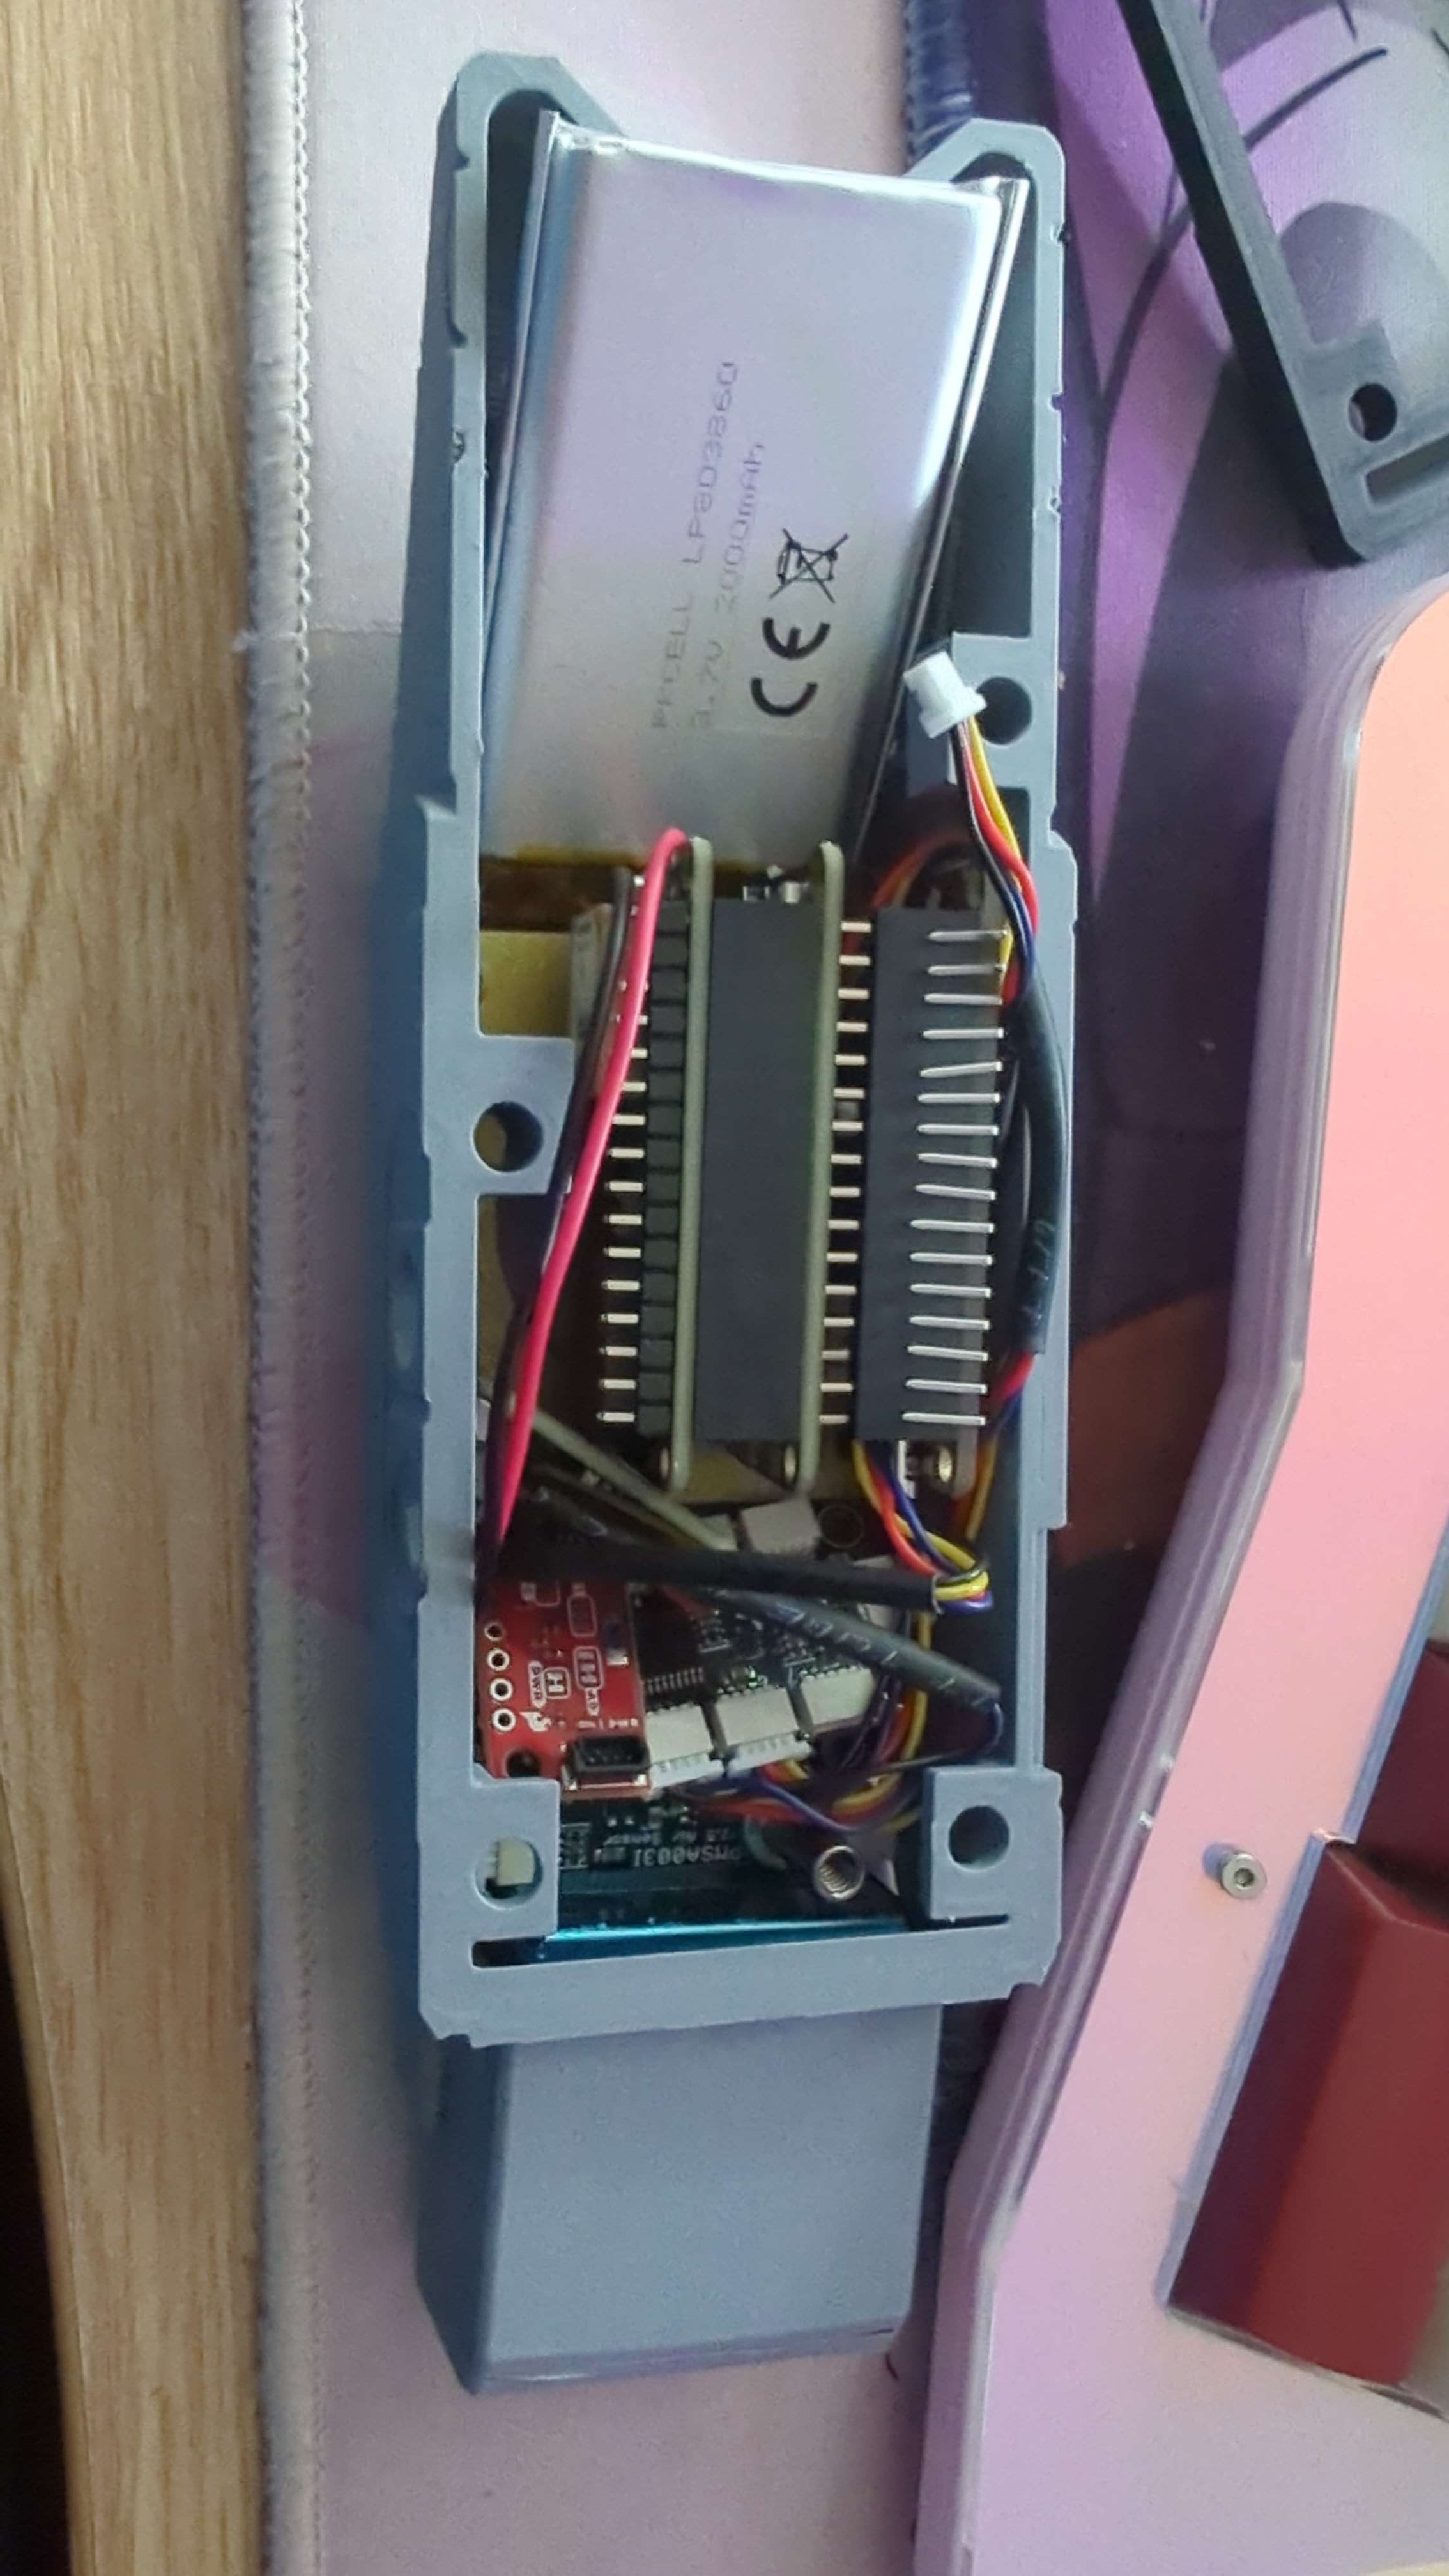
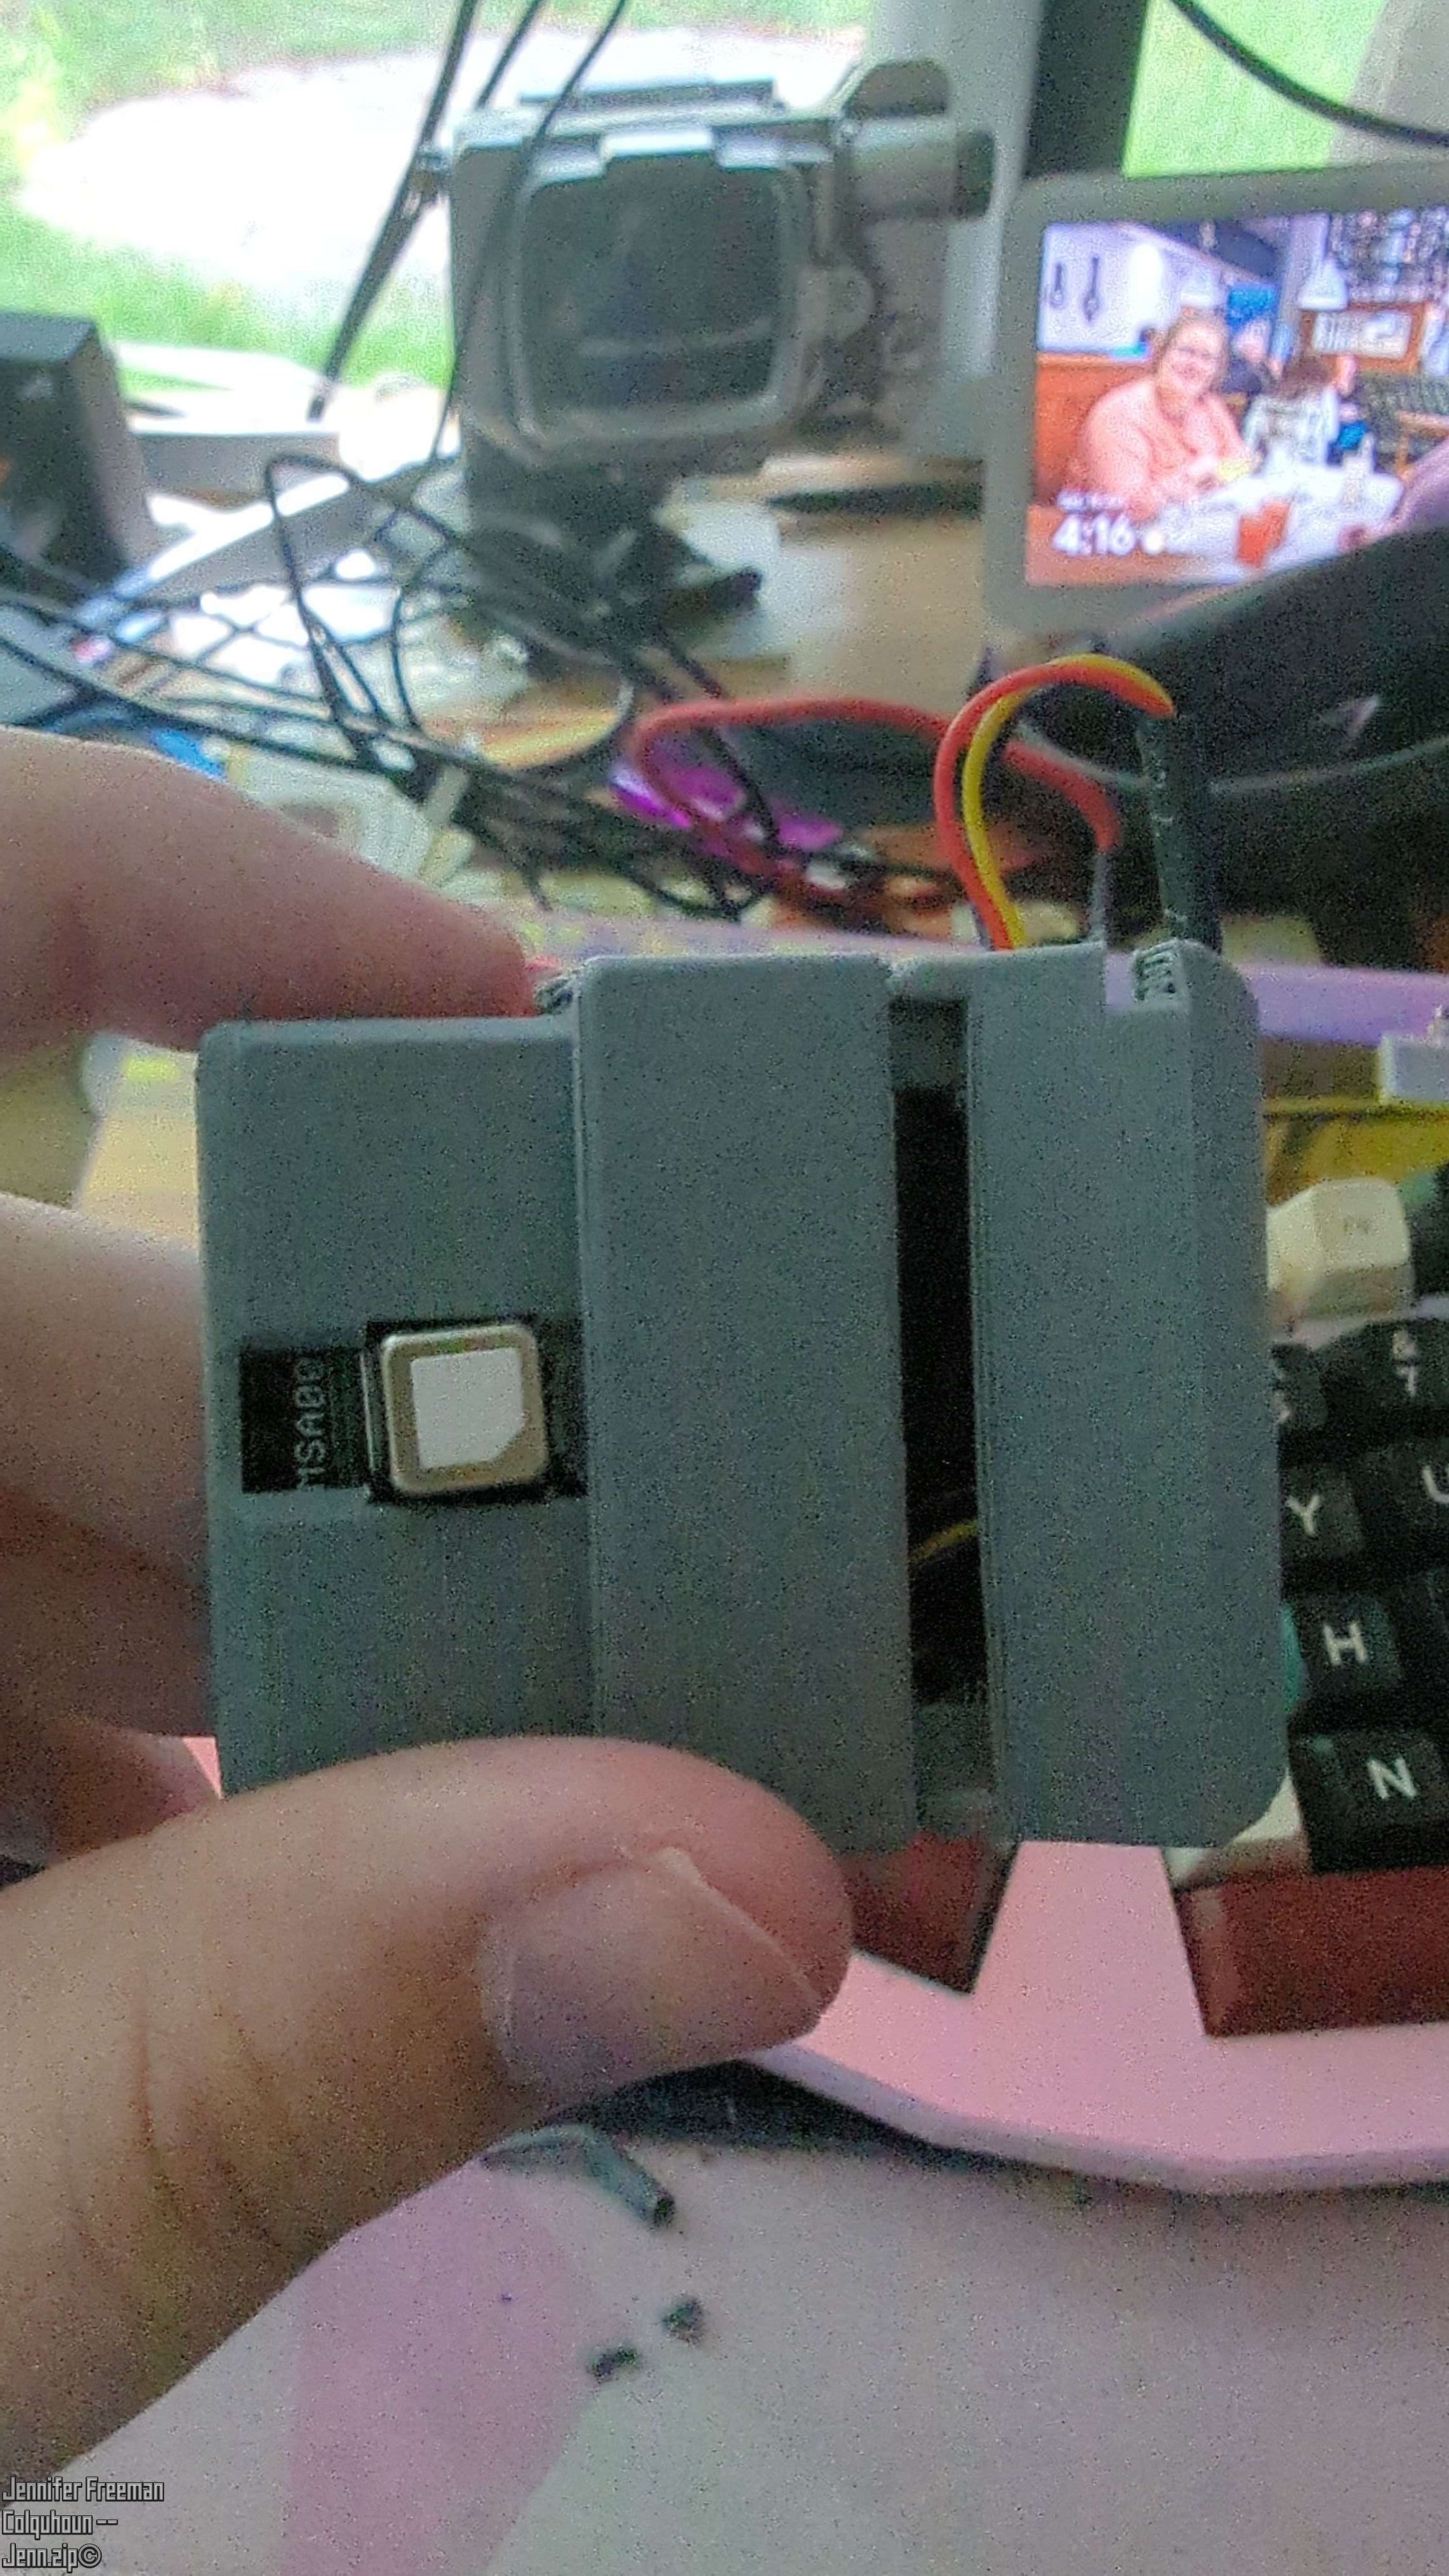
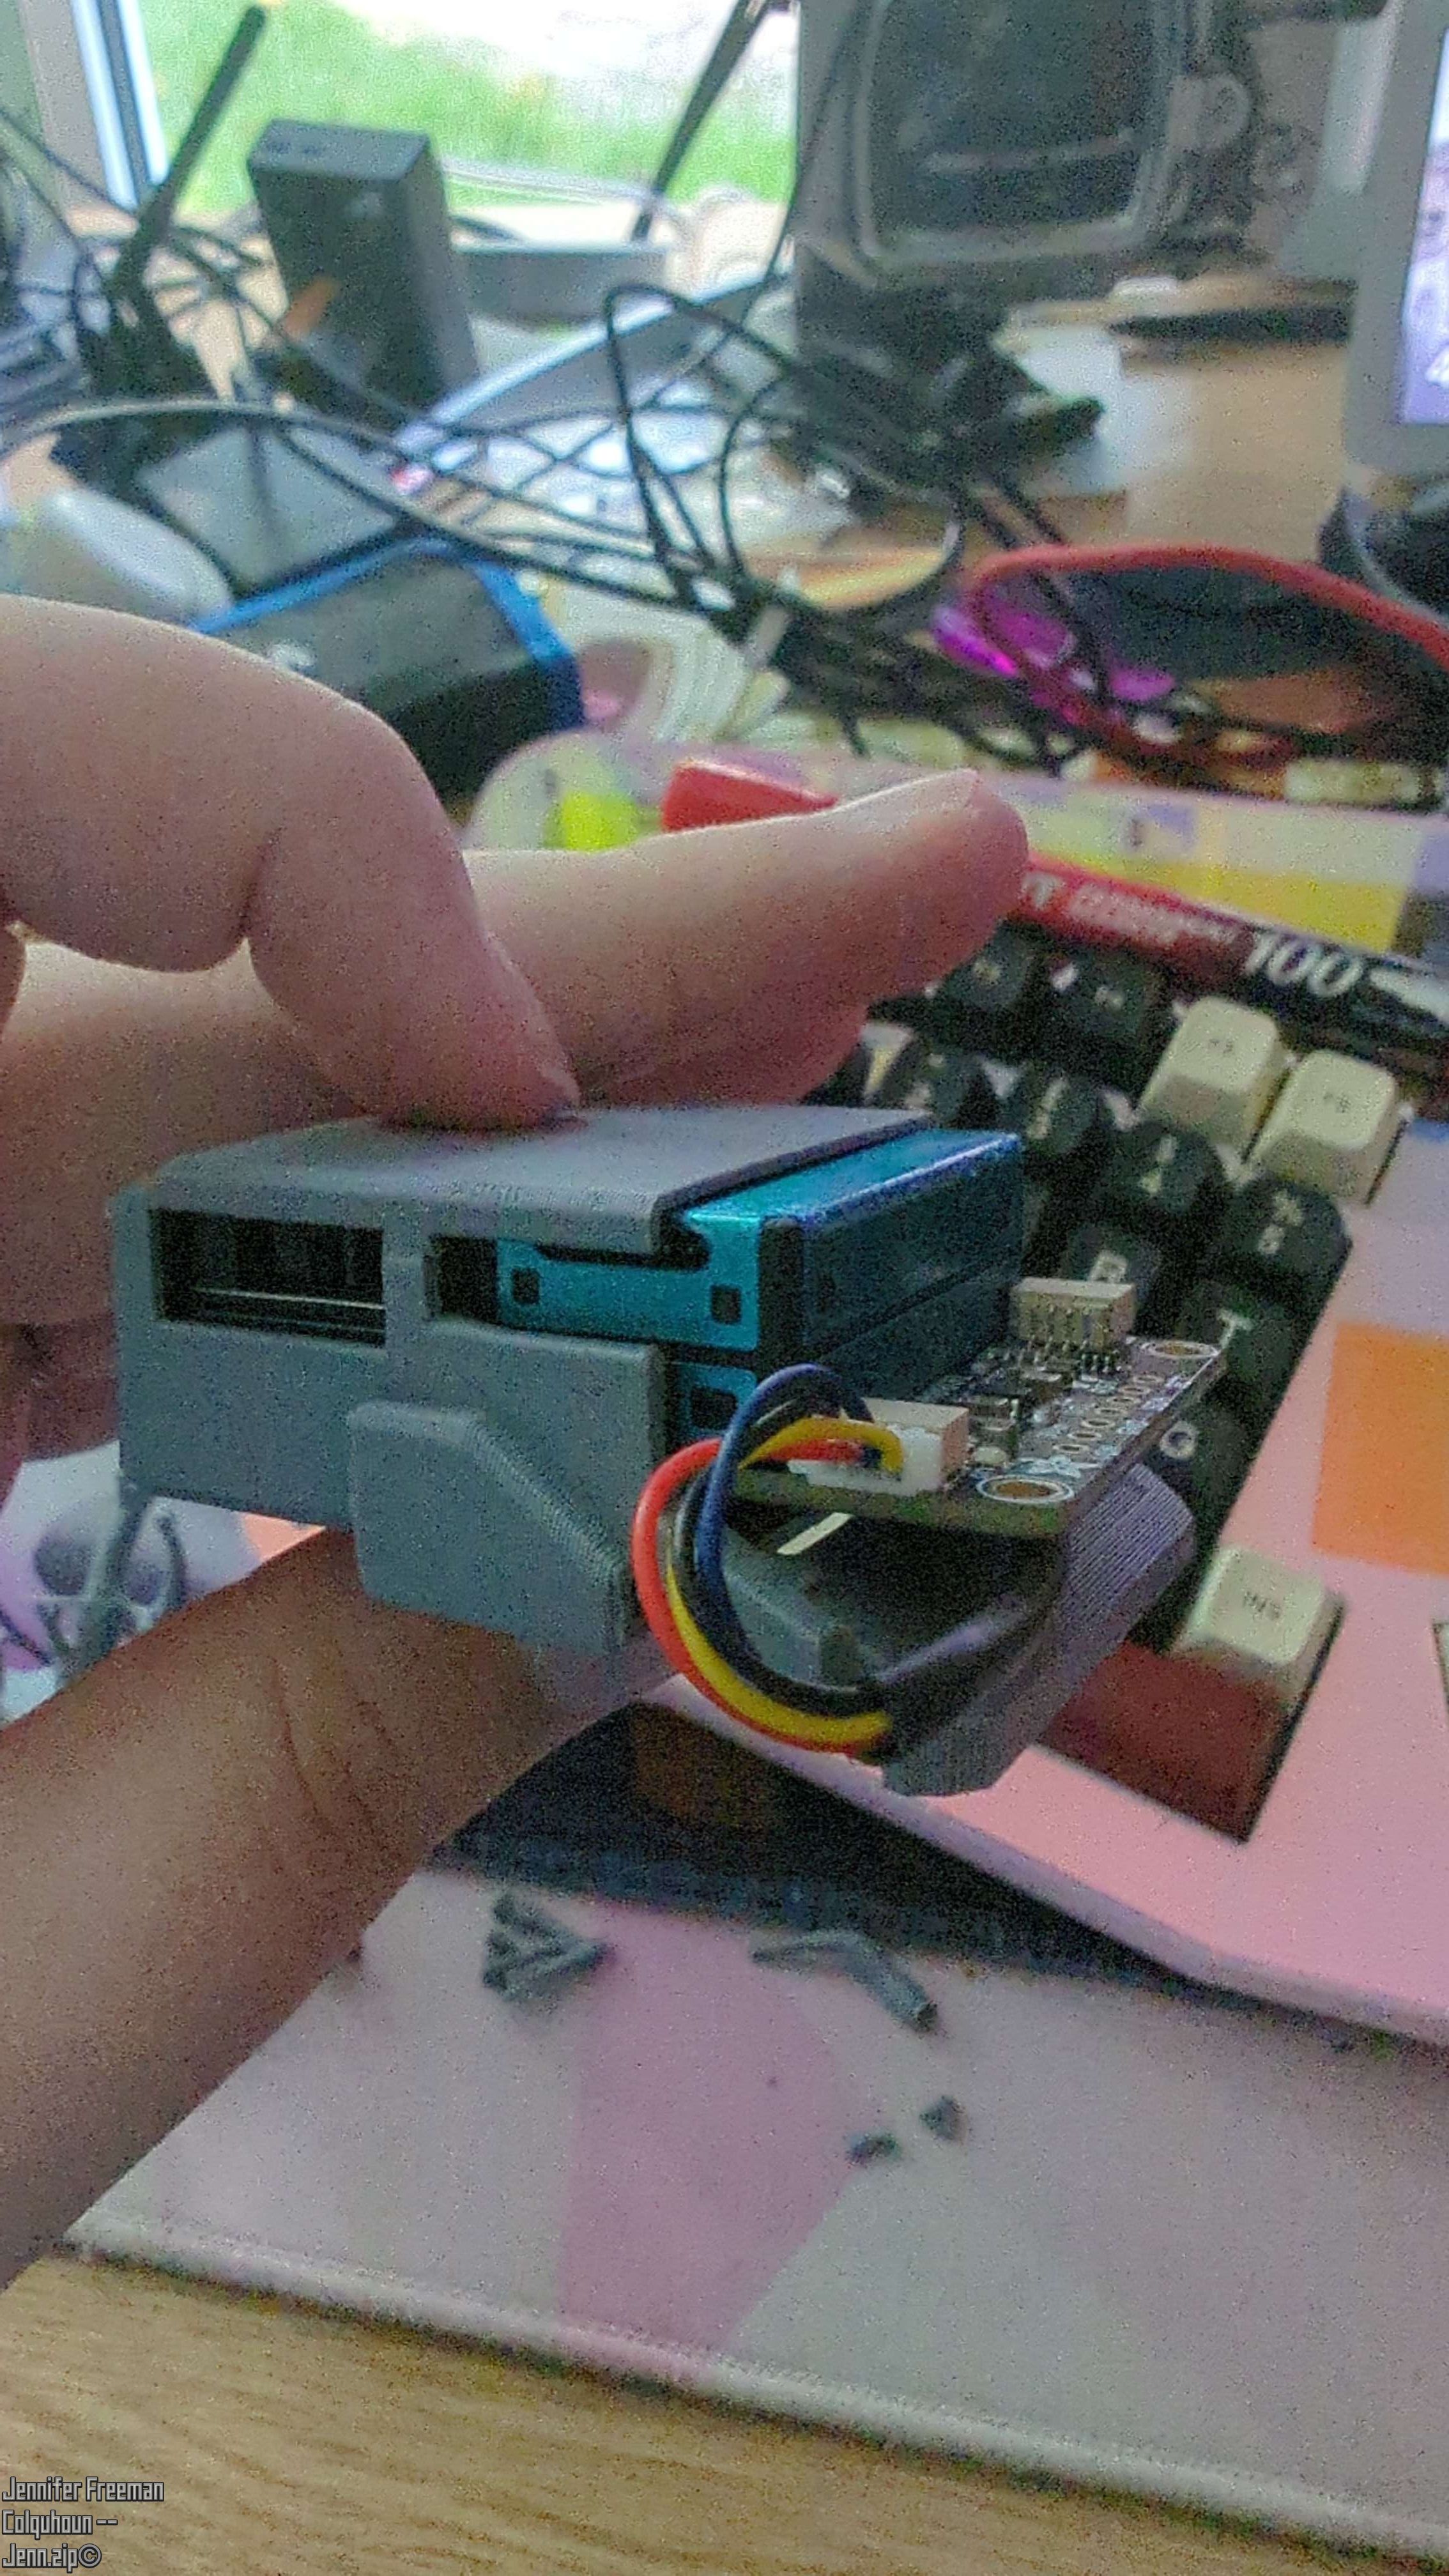
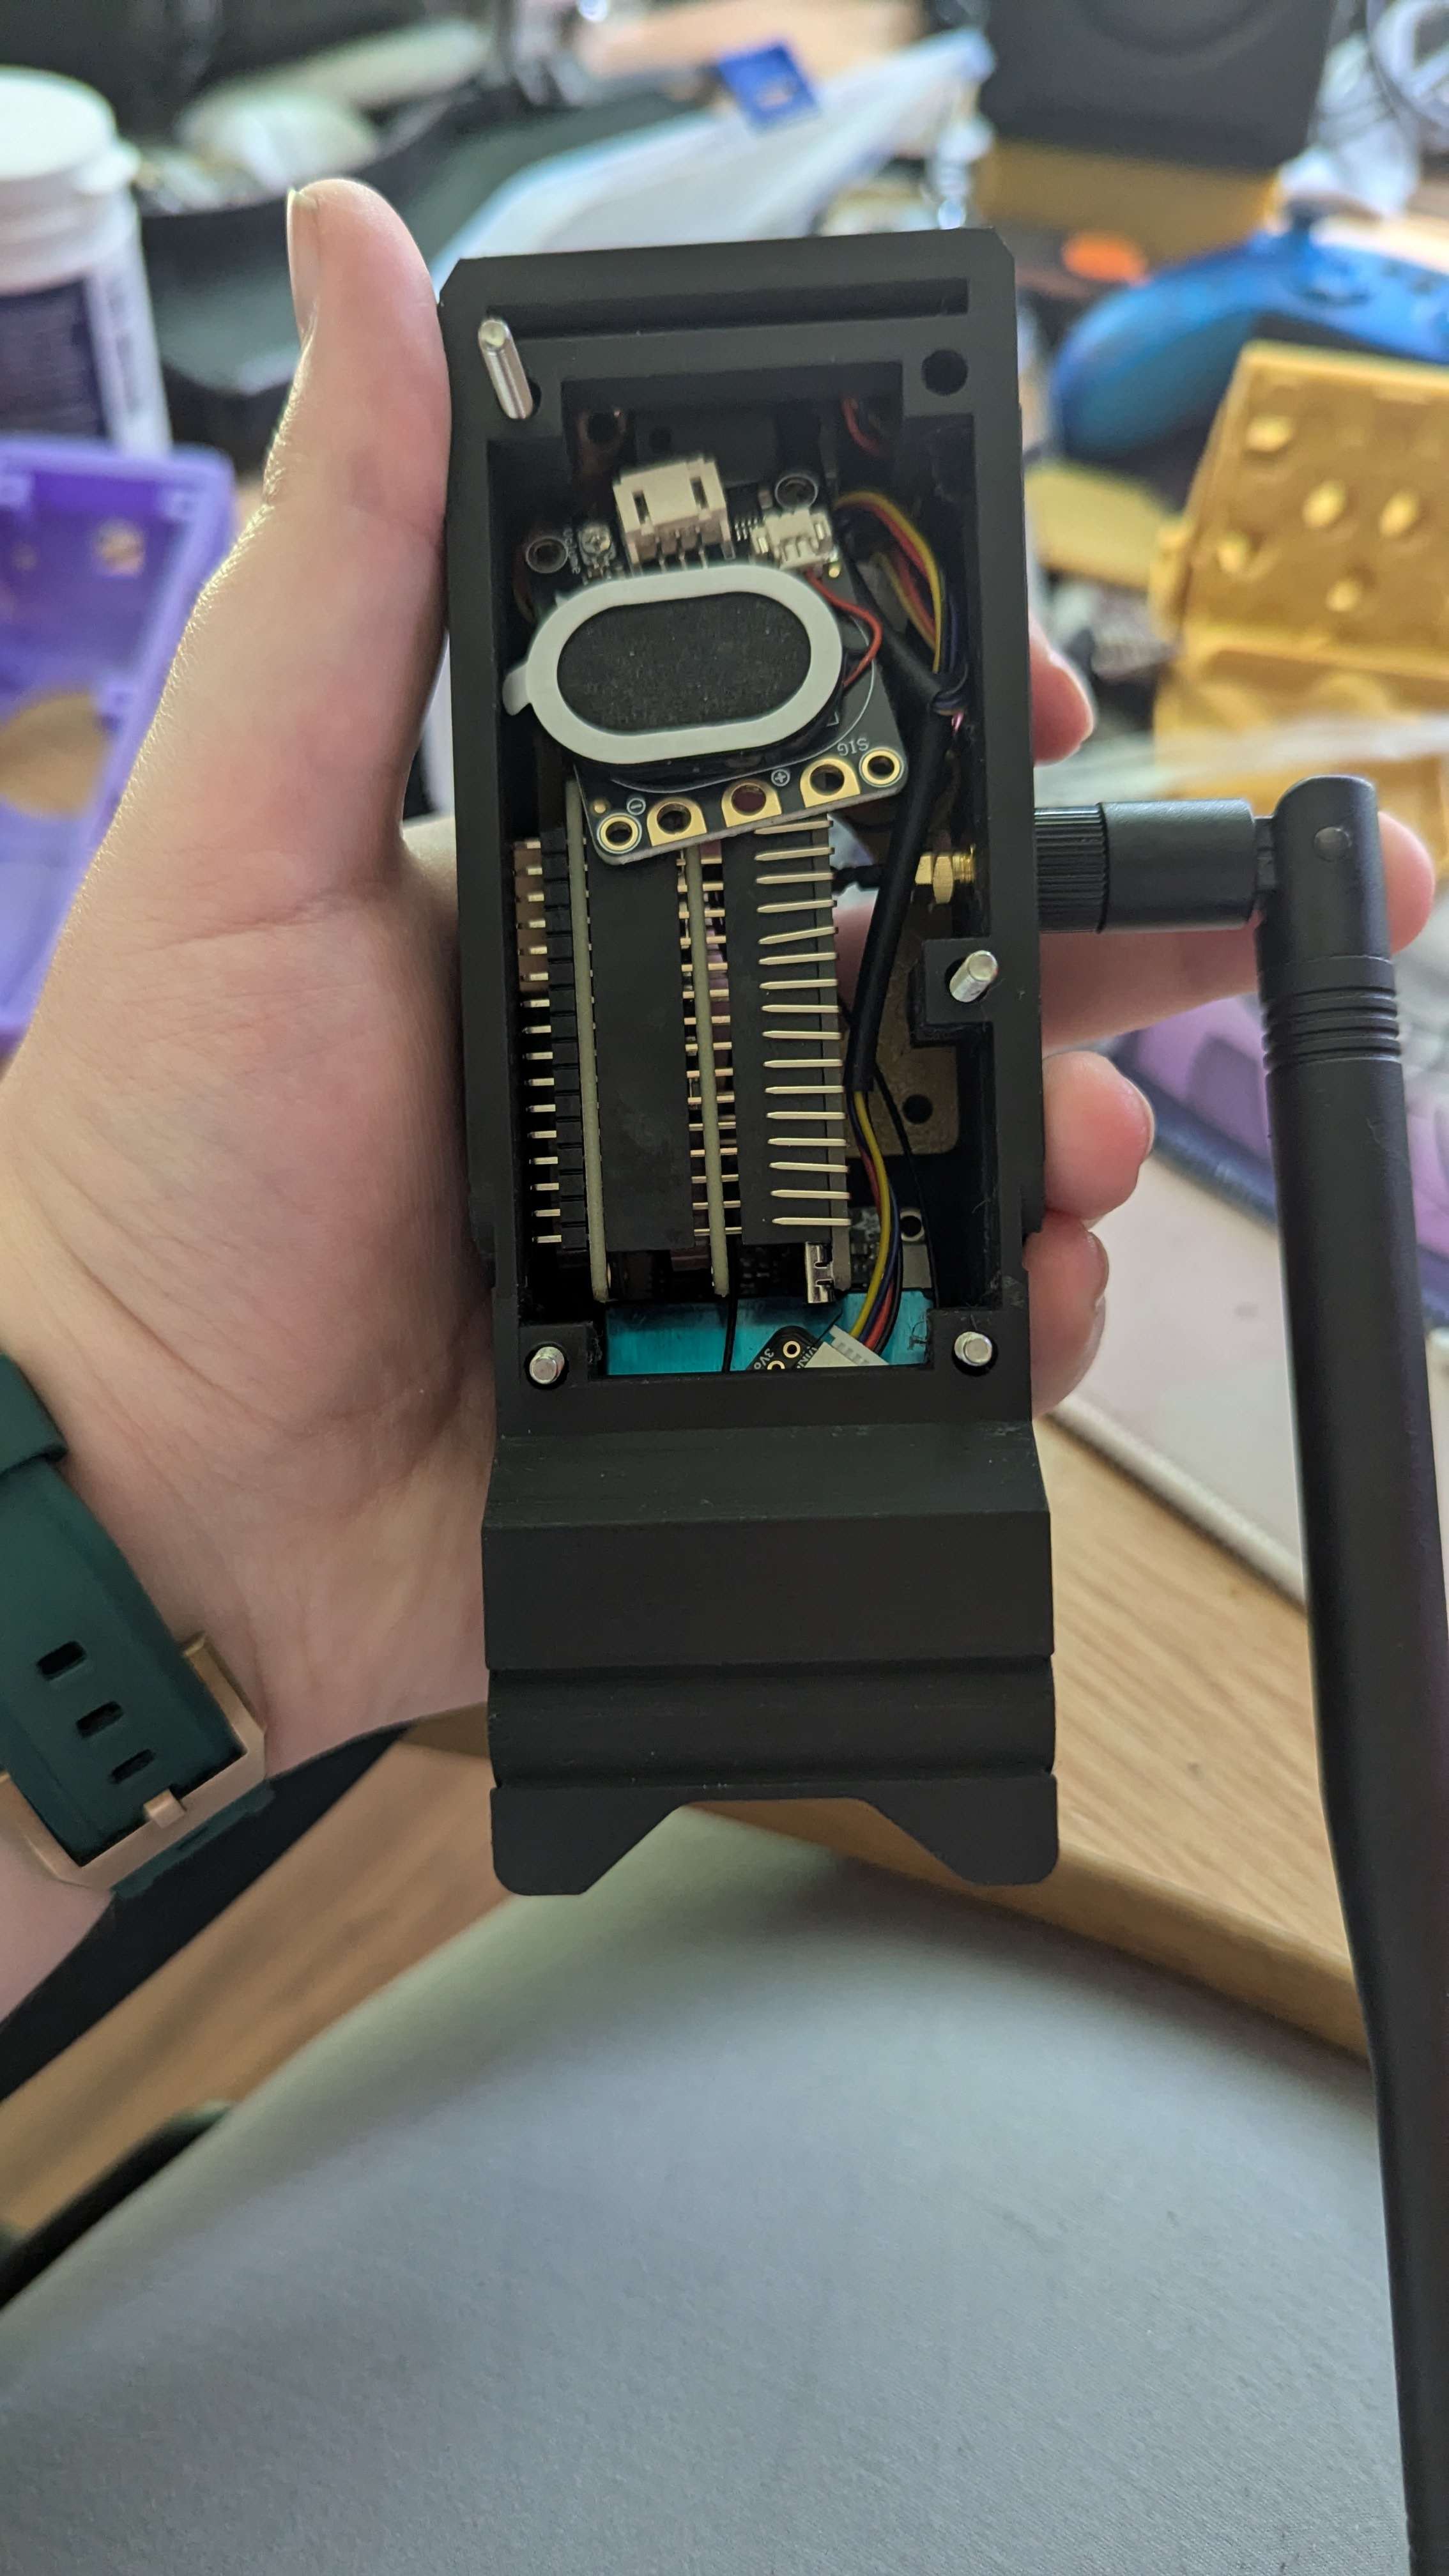
Hardware Iterations
Test fitting components into the main body. The images lit up with an orange glow were achieved using my phone's light with Kapton tape over it to simulate the final NeoPixel effect.

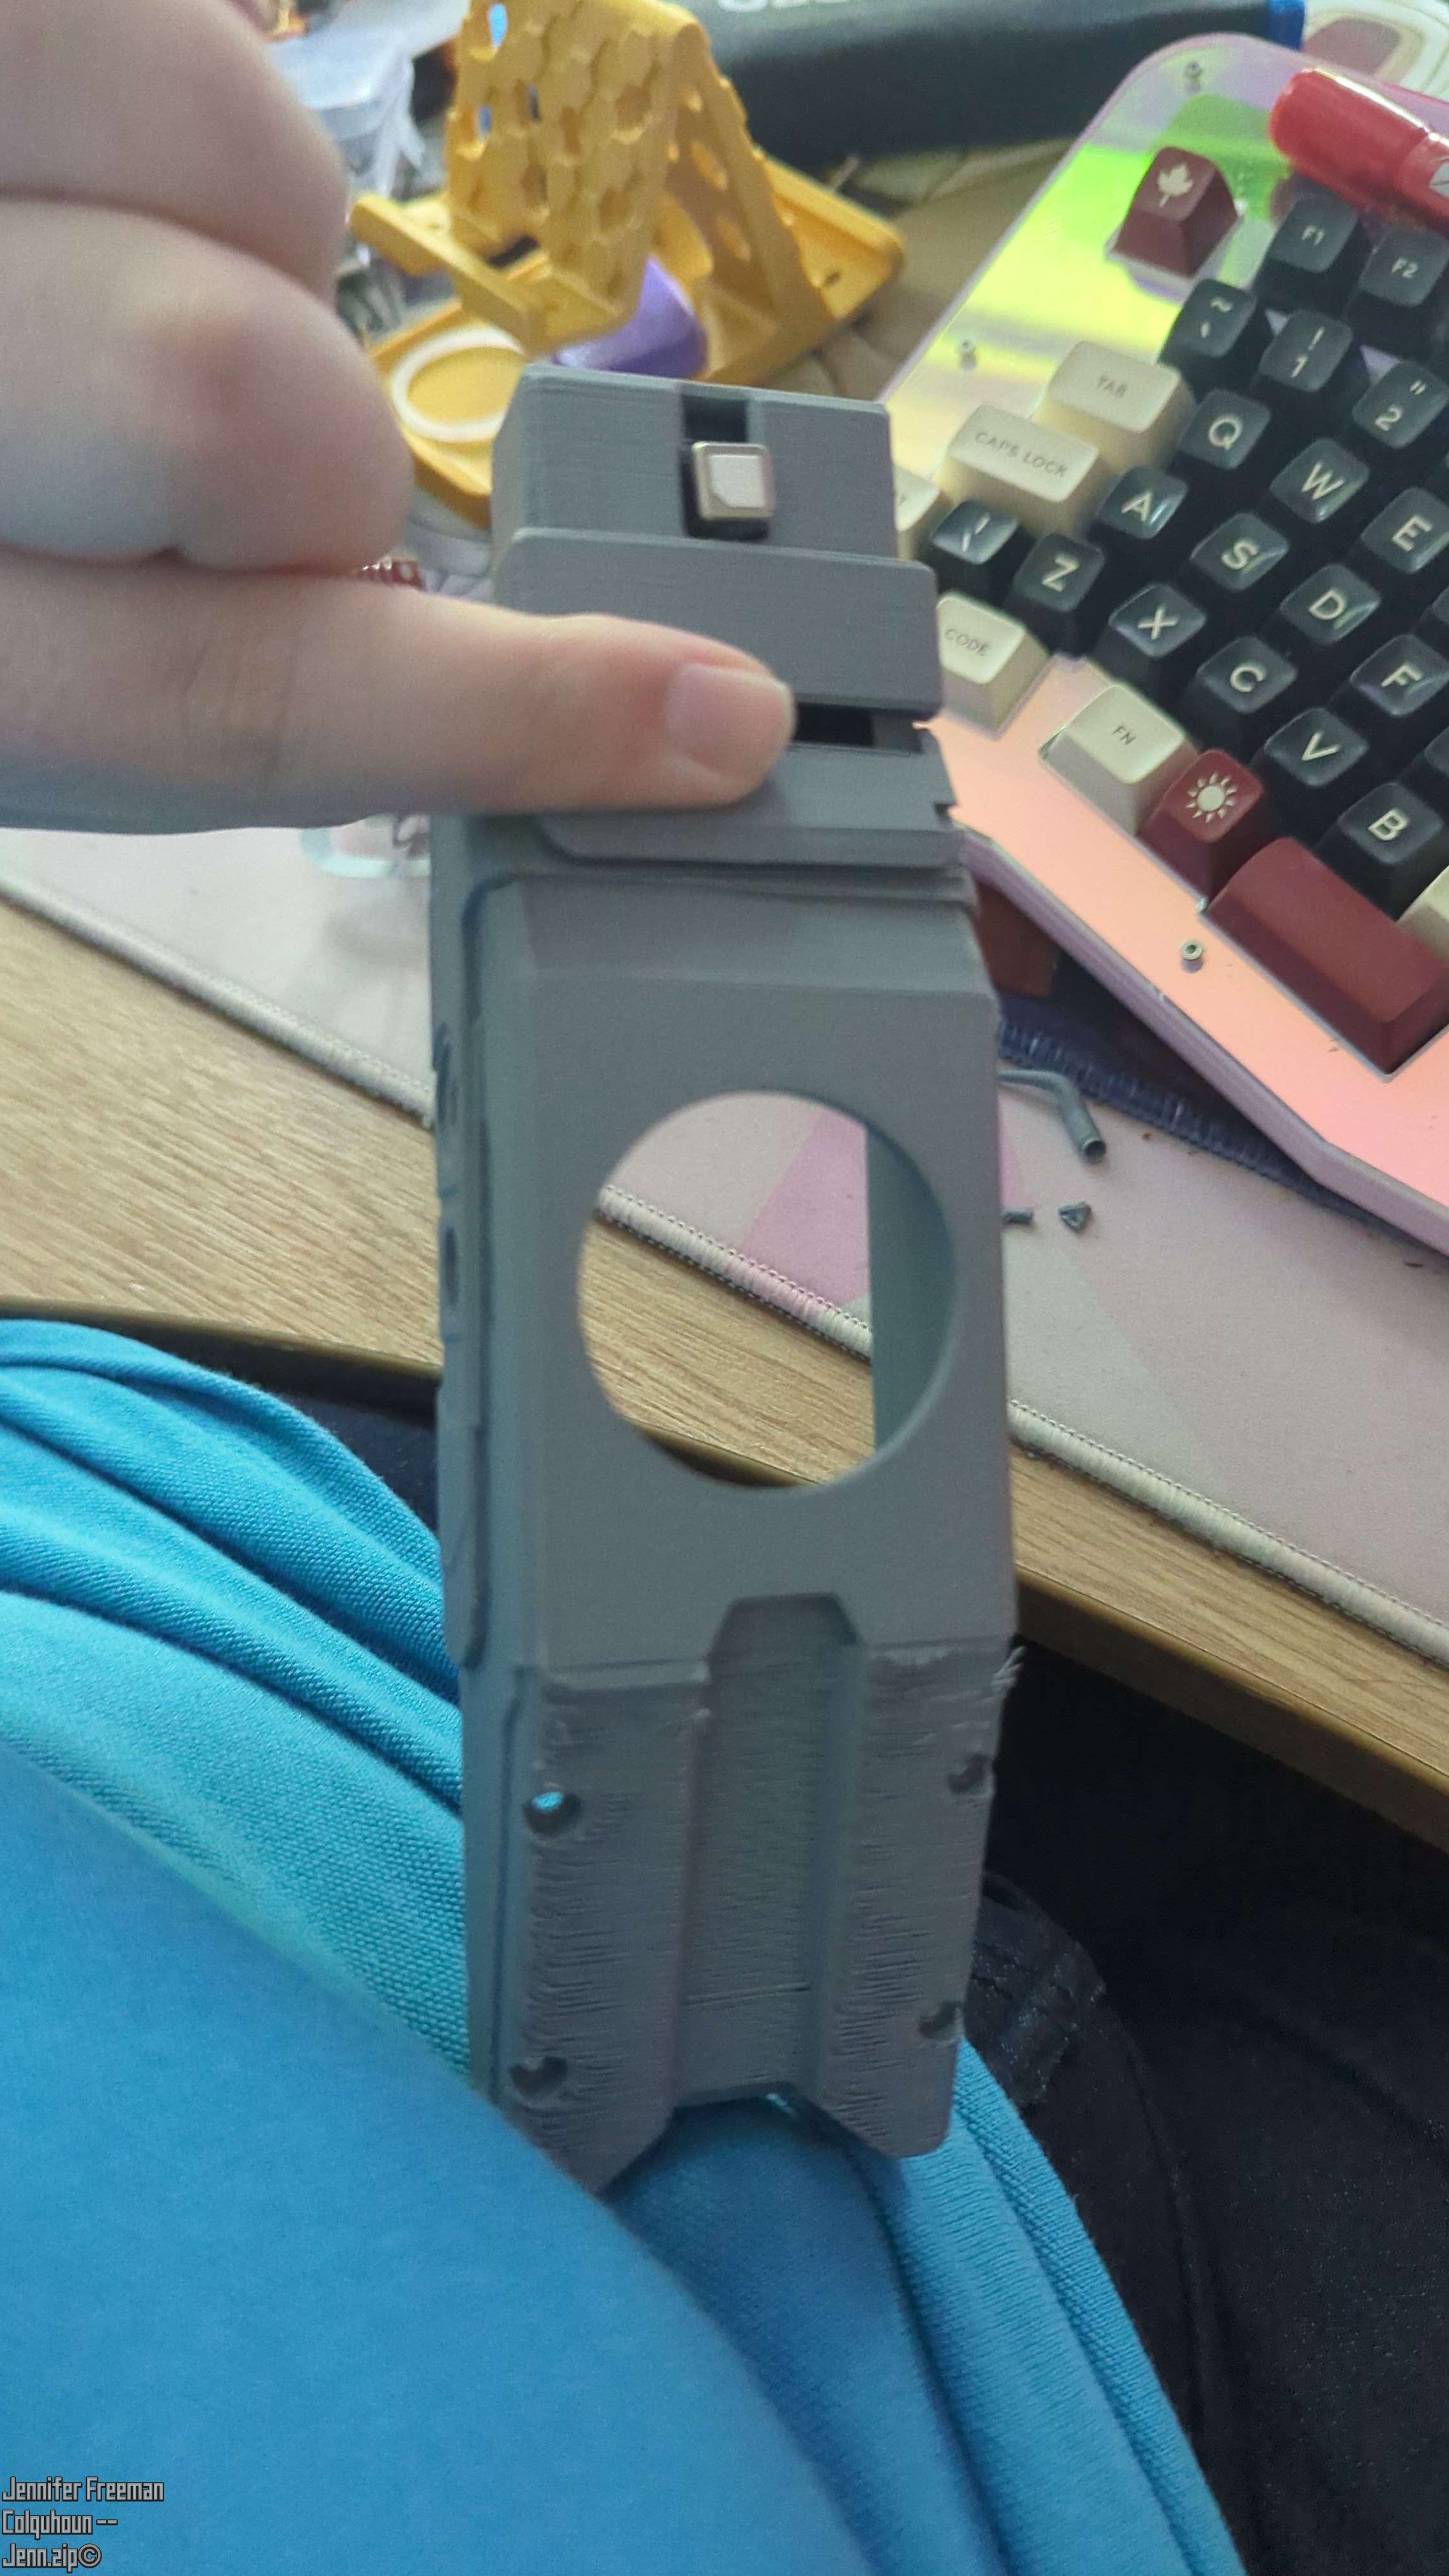
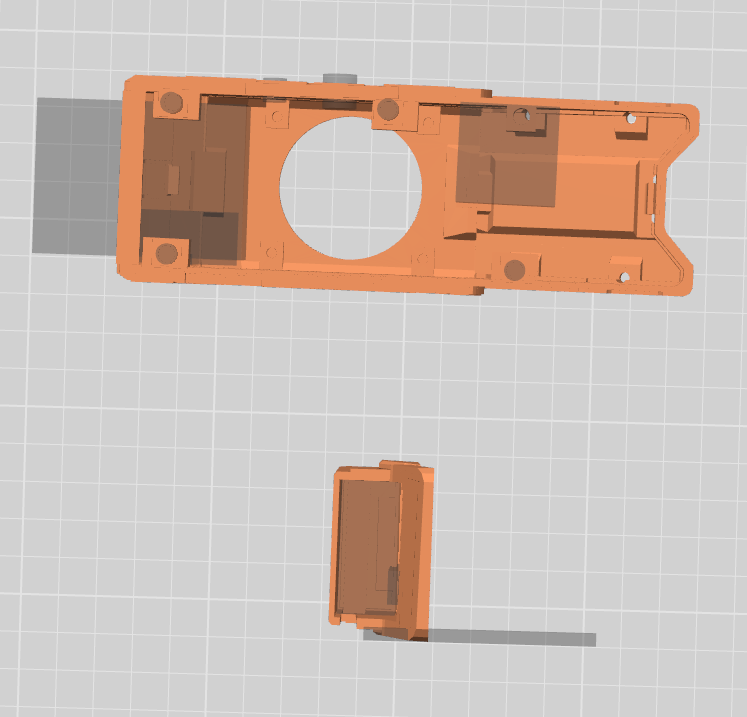
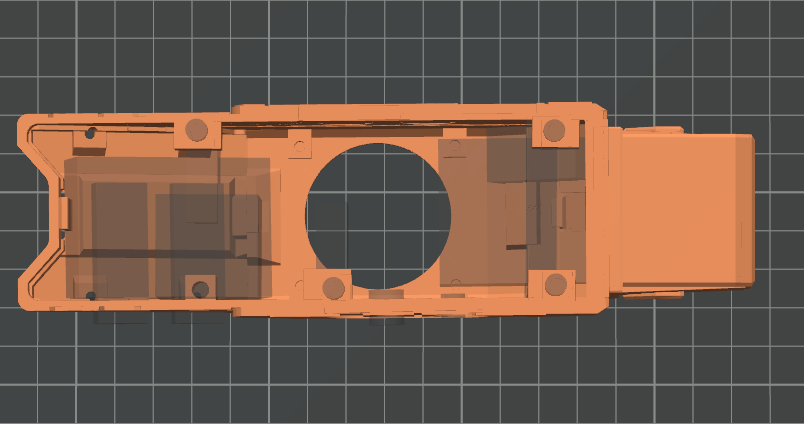
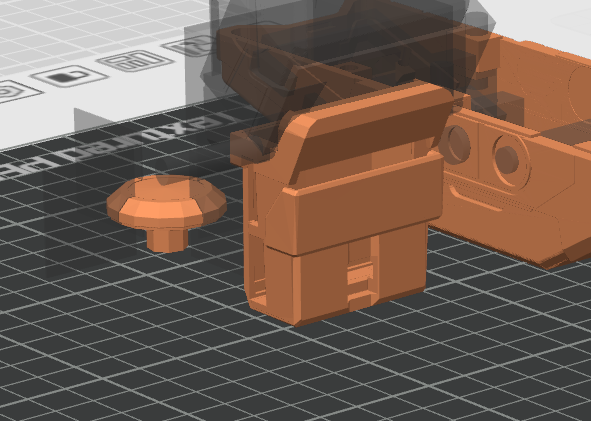
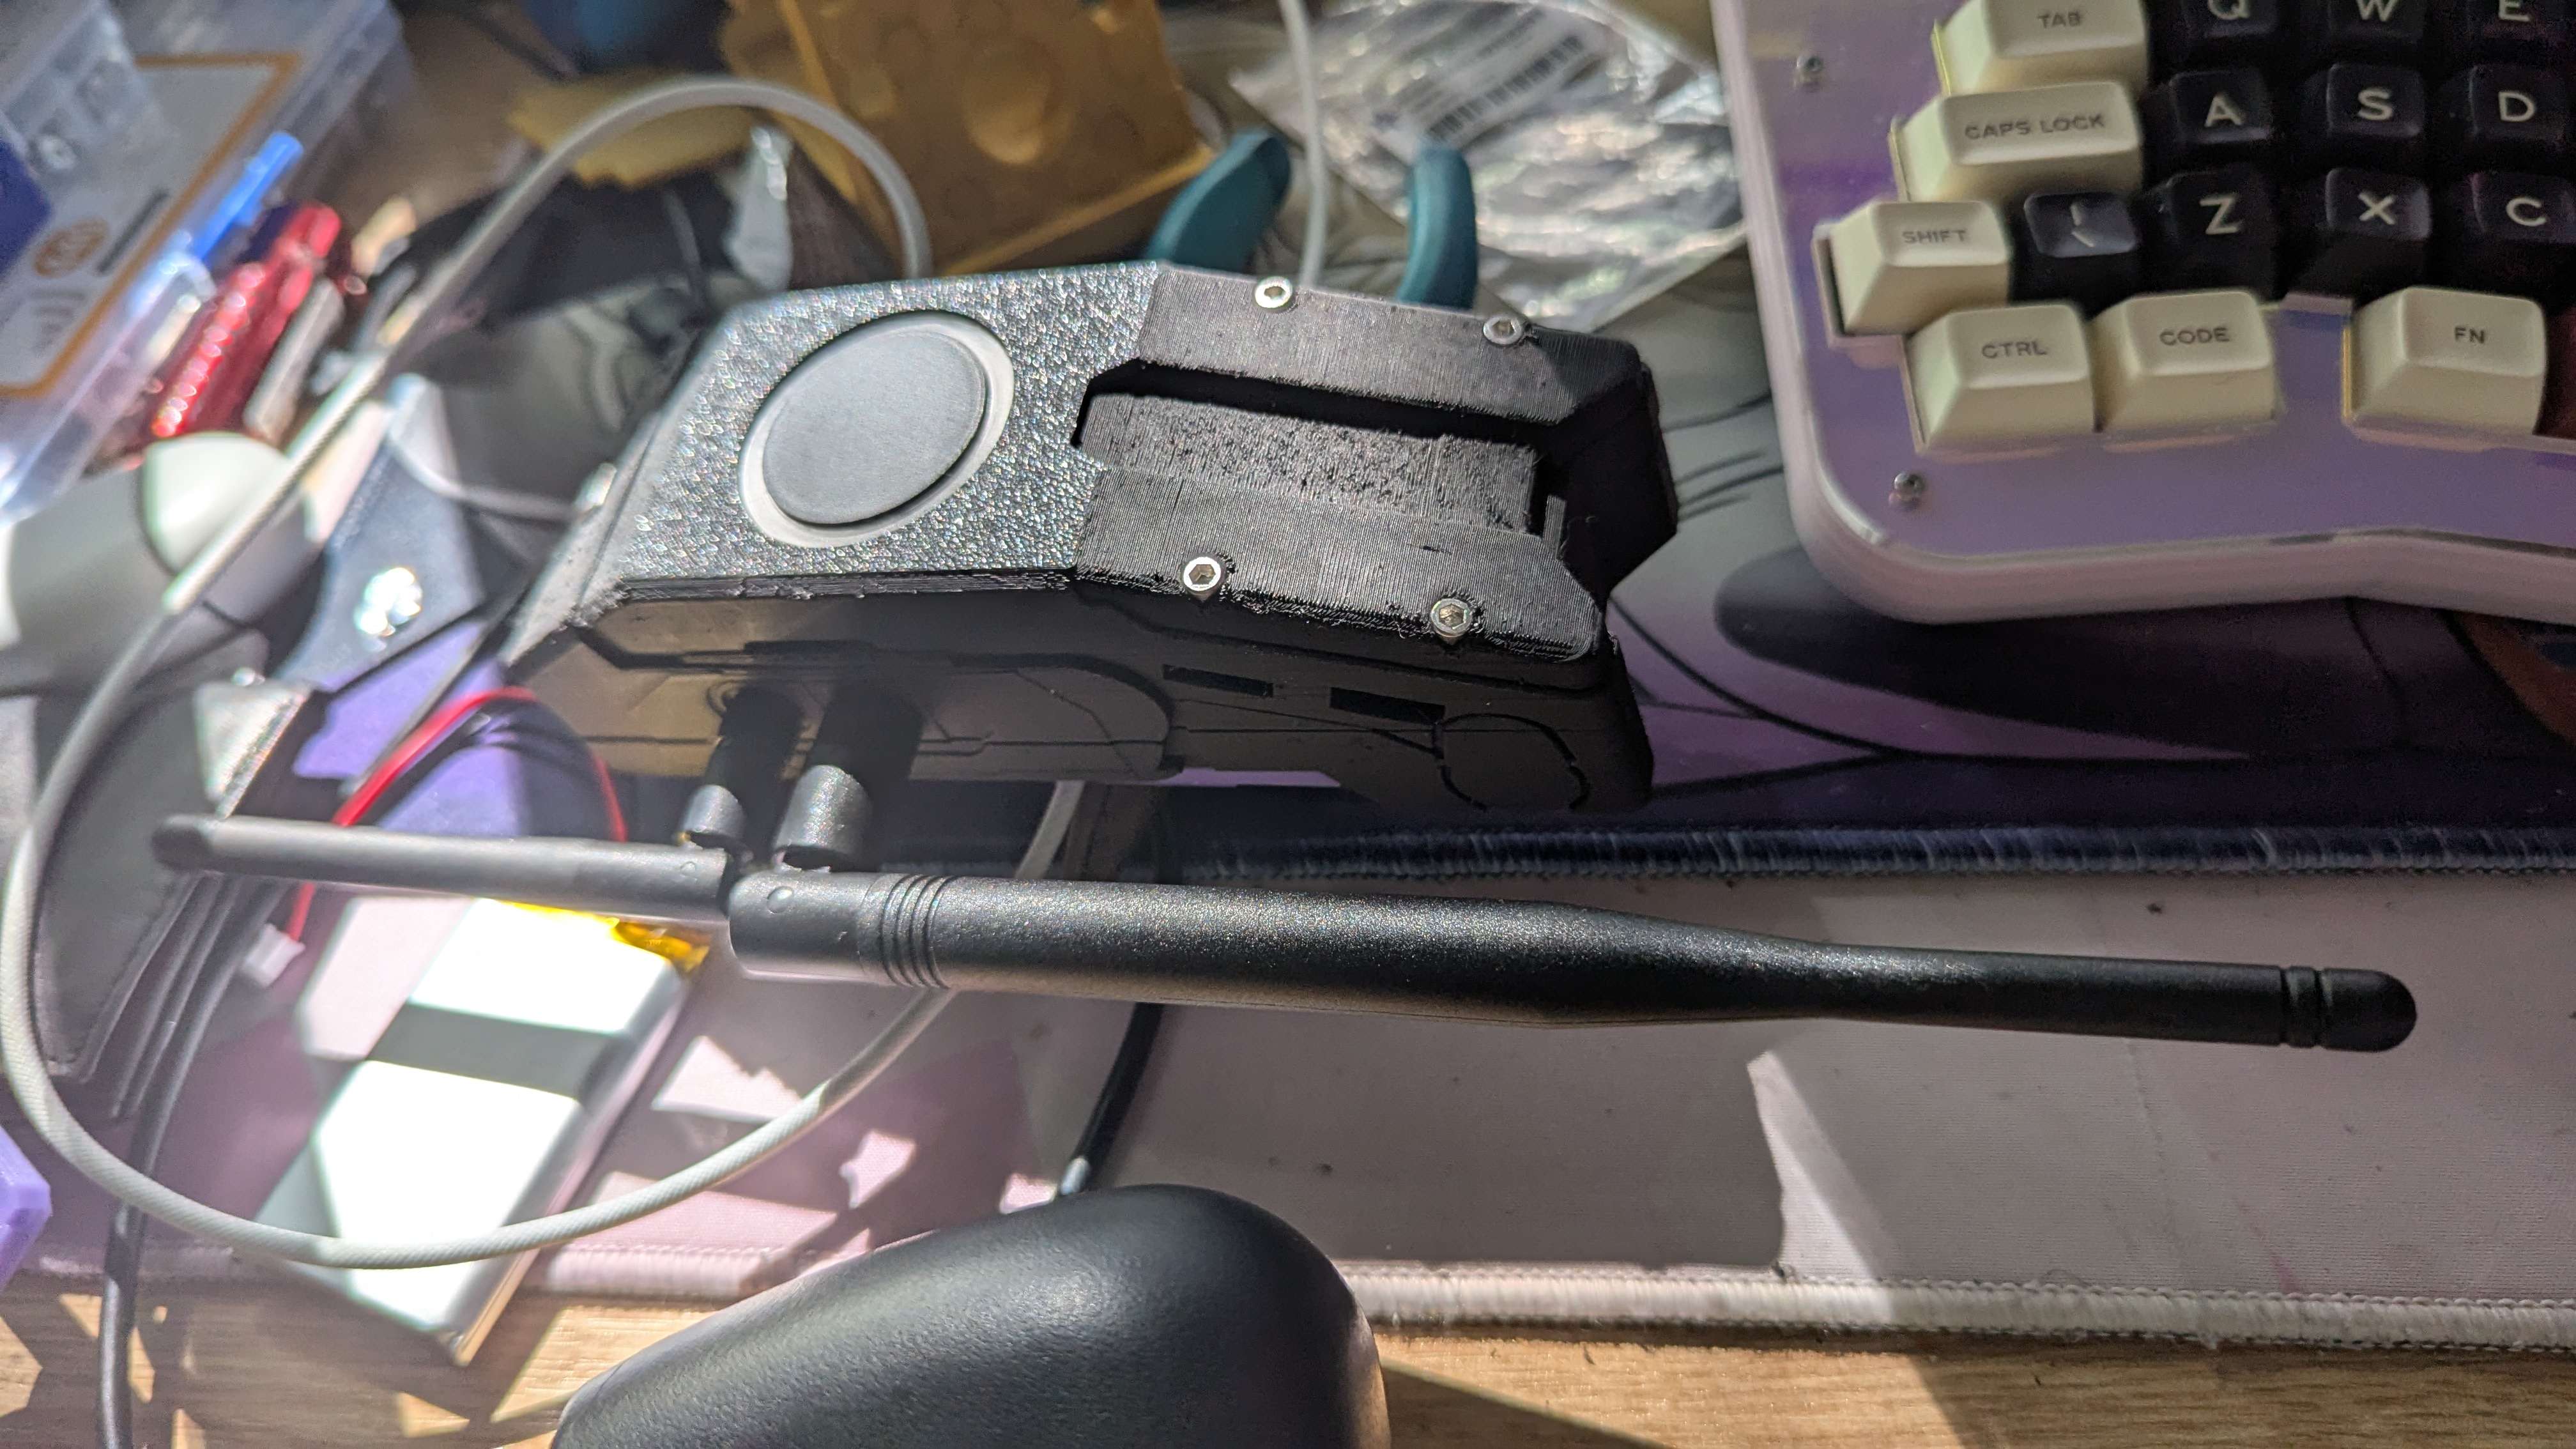
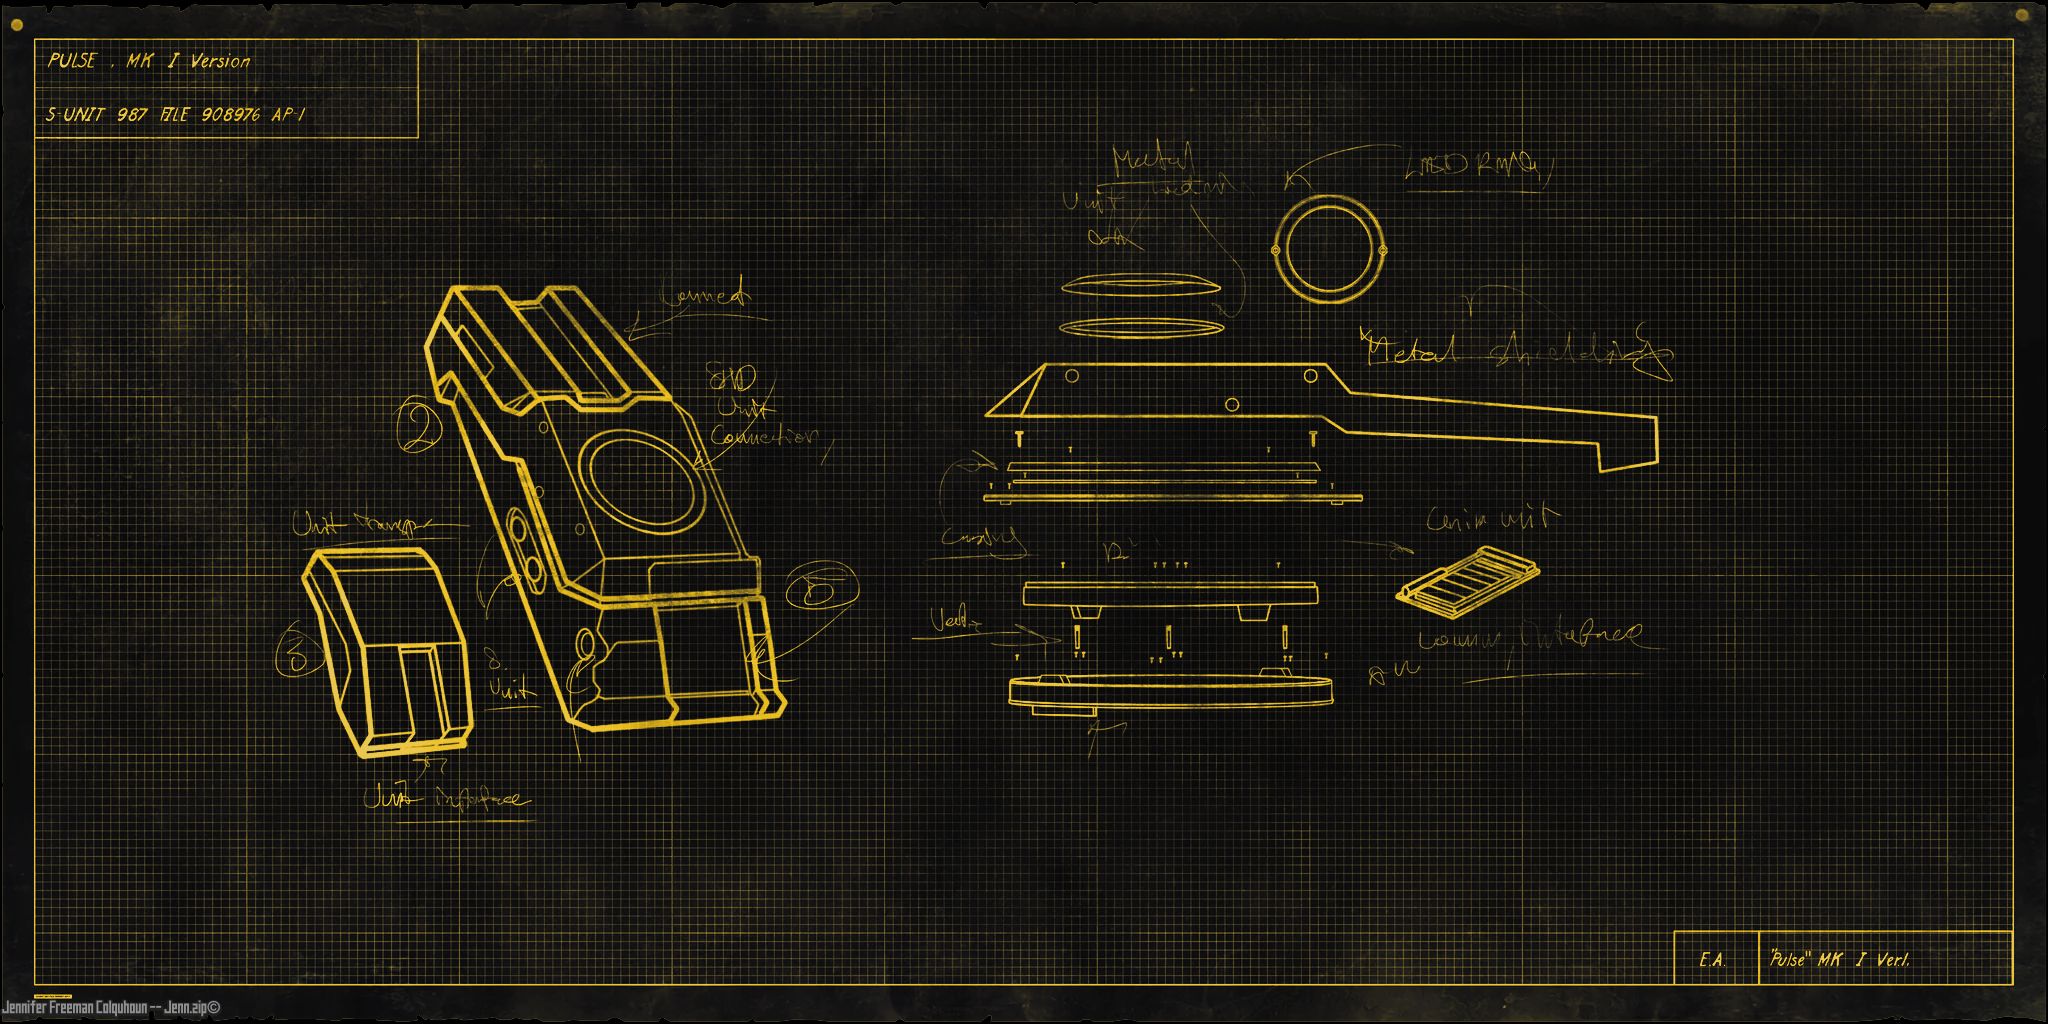
Module Fit & Slicing
Evolving to the 'Banshee' ISAC chassis to fit particulate and CO2 sensors externally inside a top module, improving internal battery capacity. Involved custom 3D model slicing to cut exact mounting brackets.

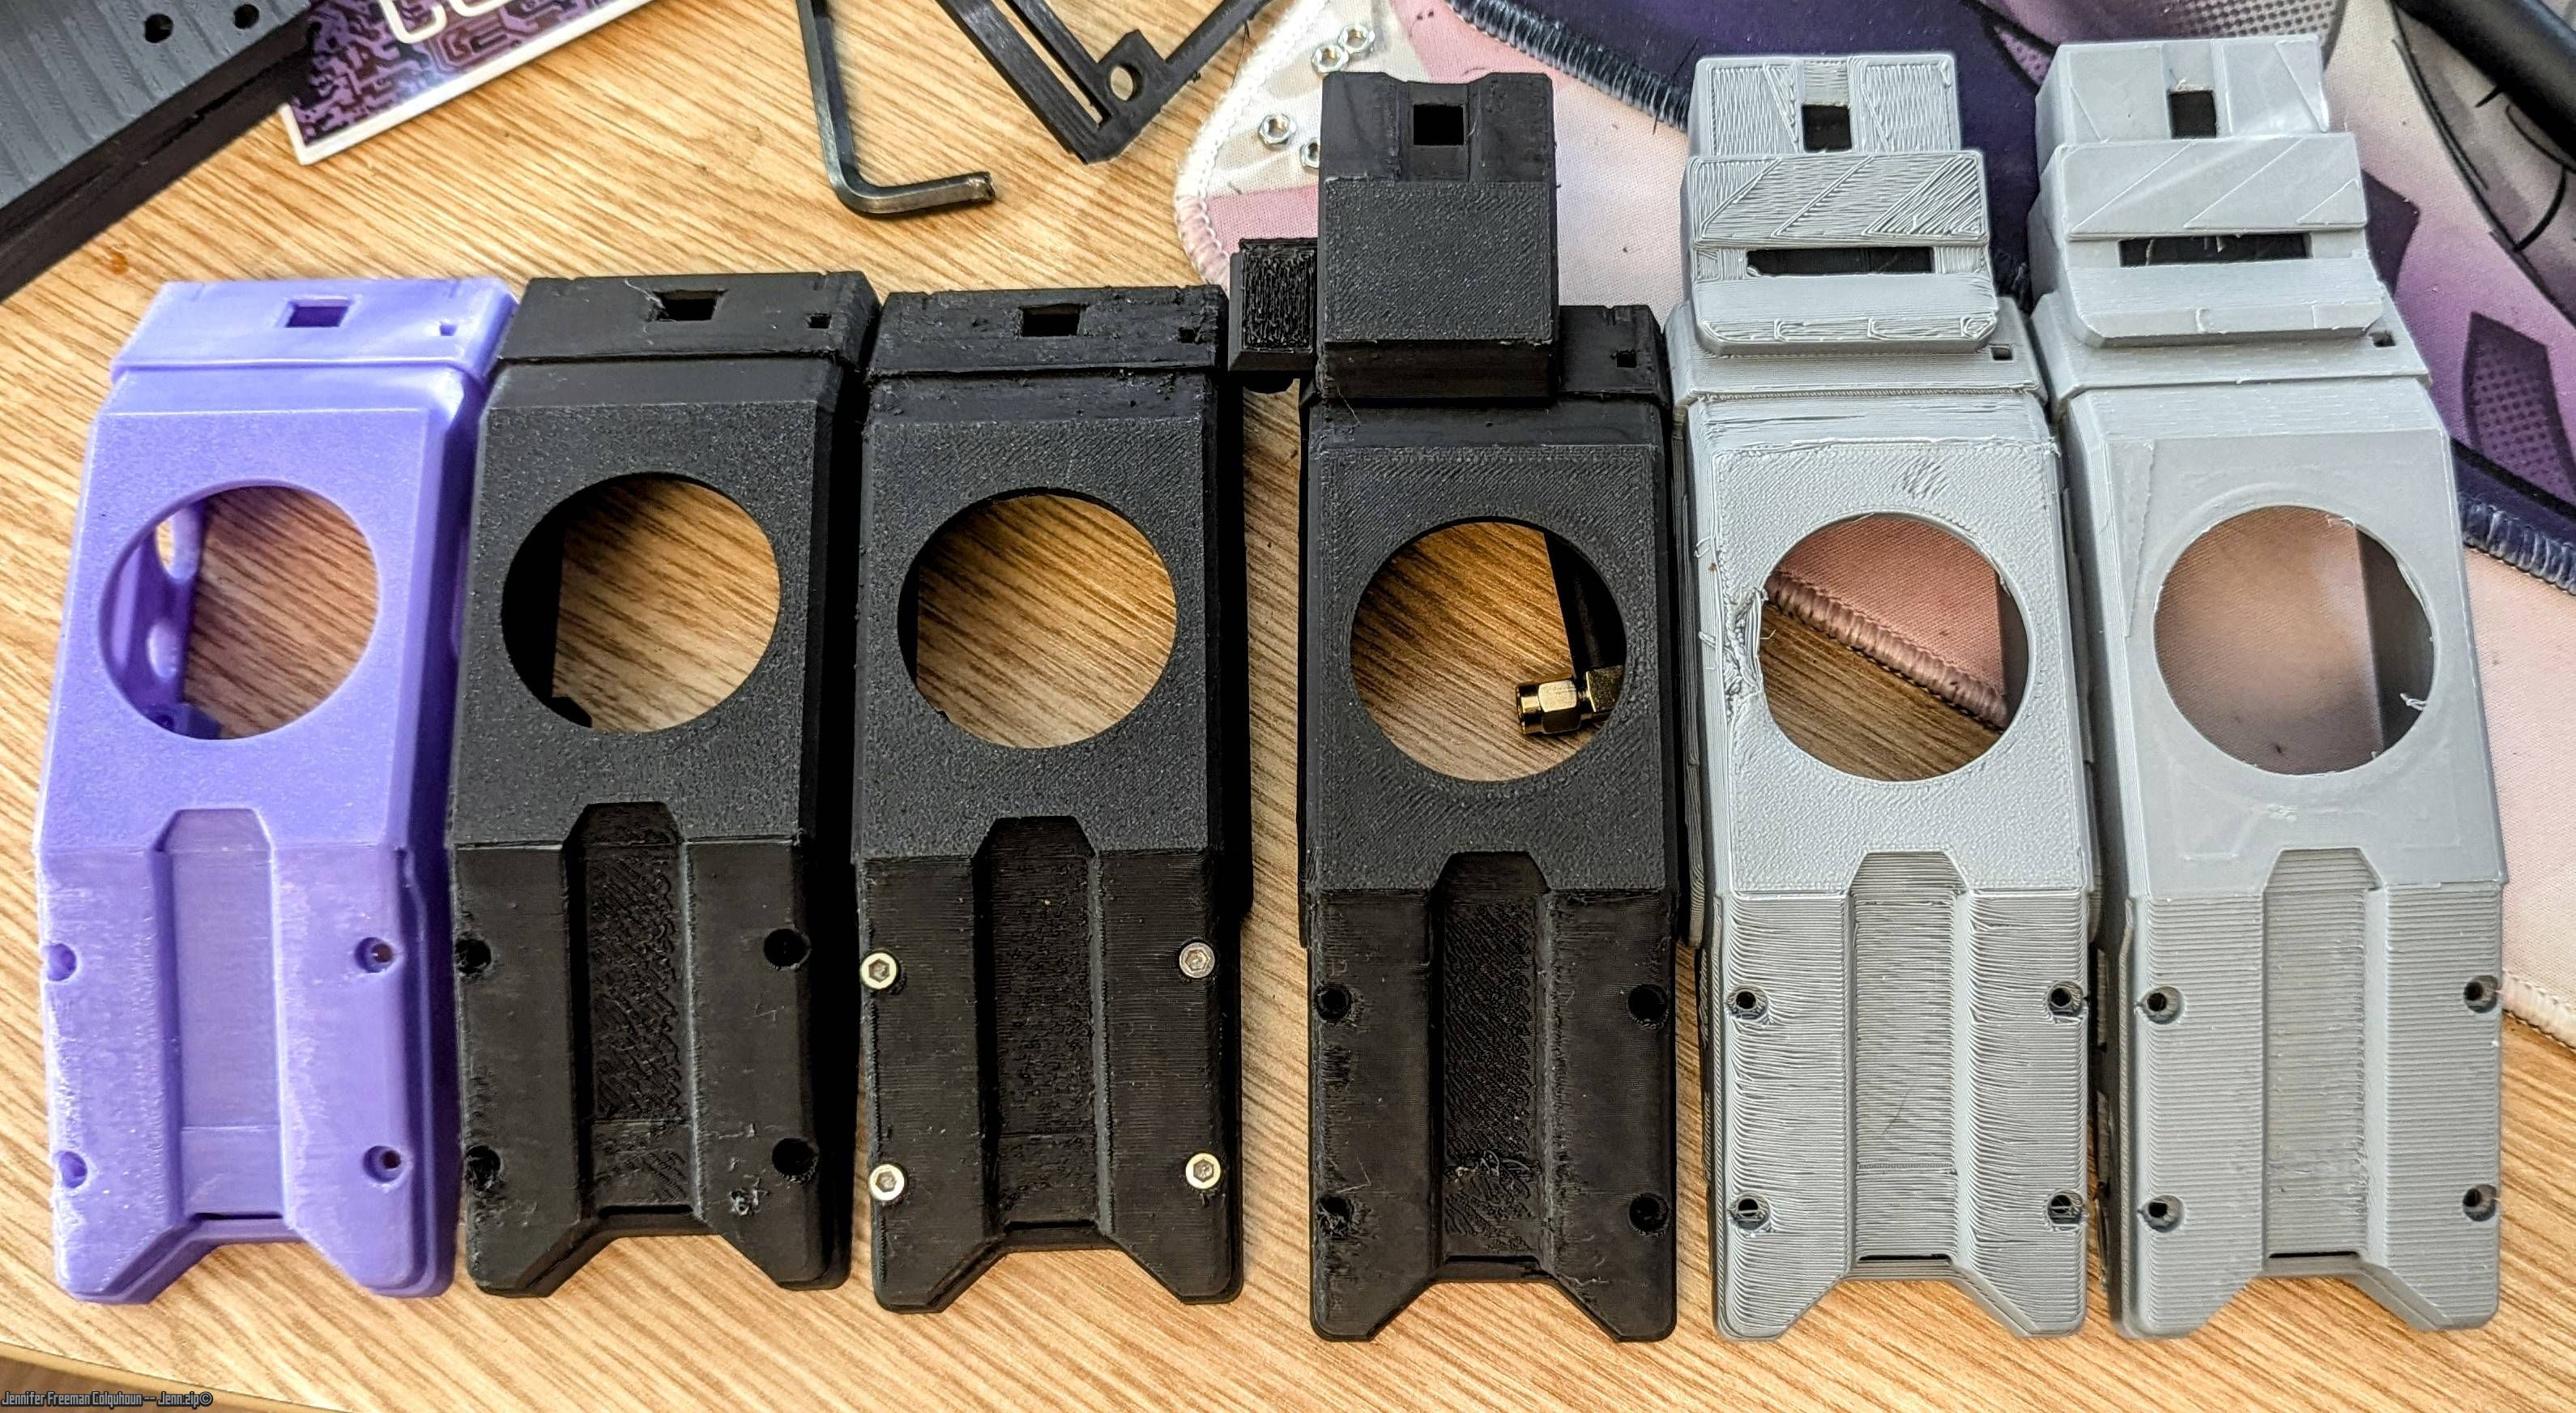
Early Prototypes
Using negative space in 3D slicing to custom-fit hardware components into the printed chassis. Various filament colors reflect different tolerance tests.

Want to hear more?
Register your interest below to receive updates on development, features, and release information.
V2.0: From Prop to Prediction Engine
Hey everyone, I know I’ve been radio silent for a long time. To be direct: I’ve been really sick. My long COVID progressed significantly, and I’m now wheelchair-bound and dealing with very limited energy. Balancing a full-time job with a chronic illness has meant my project work slowed down to a crawl, but it never stopped.
I’m finally ready to show you how much ISAC has evolved. He’s no longer just a standalone brick; he’s a full-scale prediction engine and the brain of my entire home.
The Backend Architecture
I’m now using Home Assistant as the backbone to bridge every device in my life to ISAC.
Data Integration: He now ingests data from my home sensors, my phone, and even biometric sensors on my body. He isn't just reacting to triggers; he’s making accurate predictions about environmental changes and my own needs, including managing health and "low-battery" scenarios.
The Mesh Network
I’ve moved away from relying on a single point of failure. I now have a main SHD hub, but I’ve also deployed mobile SHD nodes at friends' houses.
LoRa Communications: They communicate via LoRa, so if my main server goes offline, the system automatically fails over to the backup nodes. There is also an encrypted chat system for anyone who uses ISAC to pass messages off-grid via the panels or the portable bricks.
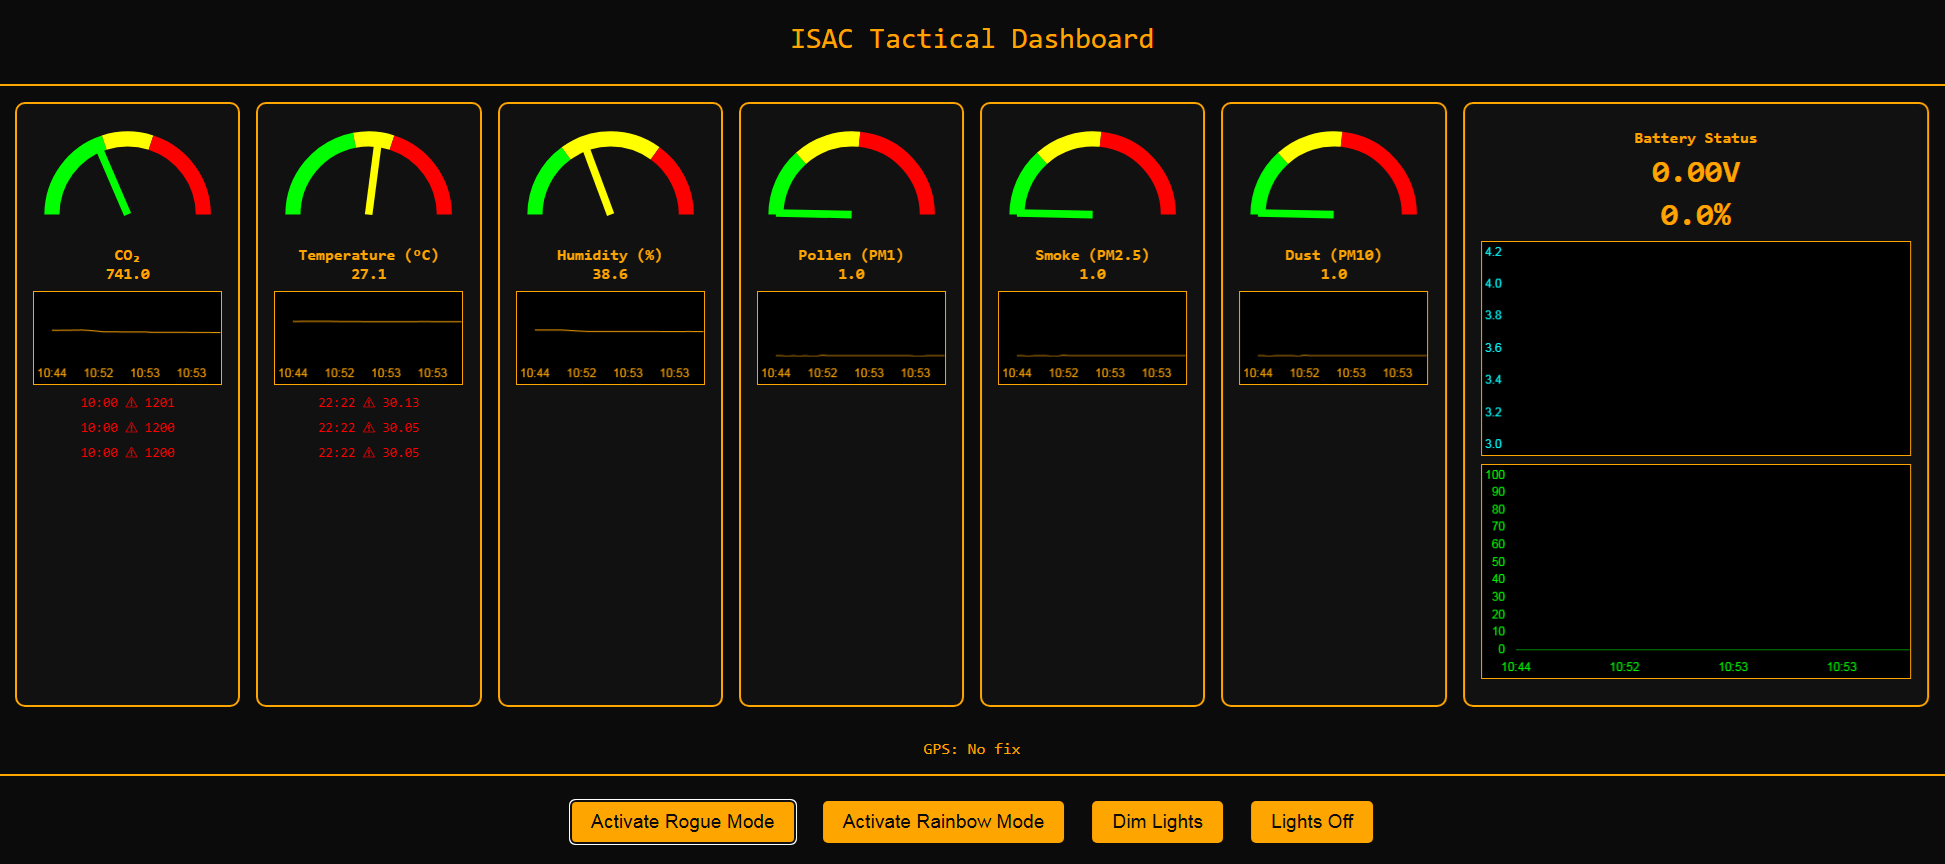
The Front-End UI
The front end is pure SHD Tech aesthetics. It looks and feels exactly like the game, but with real-world utility. I have tactical tablets deployed in every room of the house to access the network instantly.
Home Protection
ISAC acts as a unified home alarm system. Threat detection is built into every panel and autonomously notifies the portable ISAC bricks I've given to both my partners if physical intrusion is detected.
The Original Brick
The V1 Brick is not obsolete. It's now a mobile cog in the larger SHD network. You can still connect directly to it for environmental reads, but it feeds that data back to the central Home Assistant brain.
Extremis Malis Extrema Remedia
Thank you to everyone who reached out or kept following the project. It means a lot.